Streamline Payments are available on our Community Pro and Operations Pro packages.
The first thing to do before using Streamline Payments is to set up your Stripe account. This will happen inside the Stripe platform and only needs to be set up once for each district.
When you're ready to begin, click on the green Connect to Stripe button from the Settings area of your Payments tab: 
Tip: Think about this like you're about to open a bank account. Be prepared with the following materials before beginning:
- a mobile number to secure your personal Stripe account (this can be your personal cell as it will only be used to log in to your personal Stipe account)
- district contact information, including your EIN (Employer Identification Number)
- contact information for a "designated representative" (someone with significant responsibility who can act on behalf of the district), including their social security # and date of birth
- a short description of the products or services you'll be offering
- banking information such as routing and account numbers
Step 1 - Adding your mobile number
The first thing you'll need to add is your mobile number. This will be used to authenticate log ins to your Stripe account:
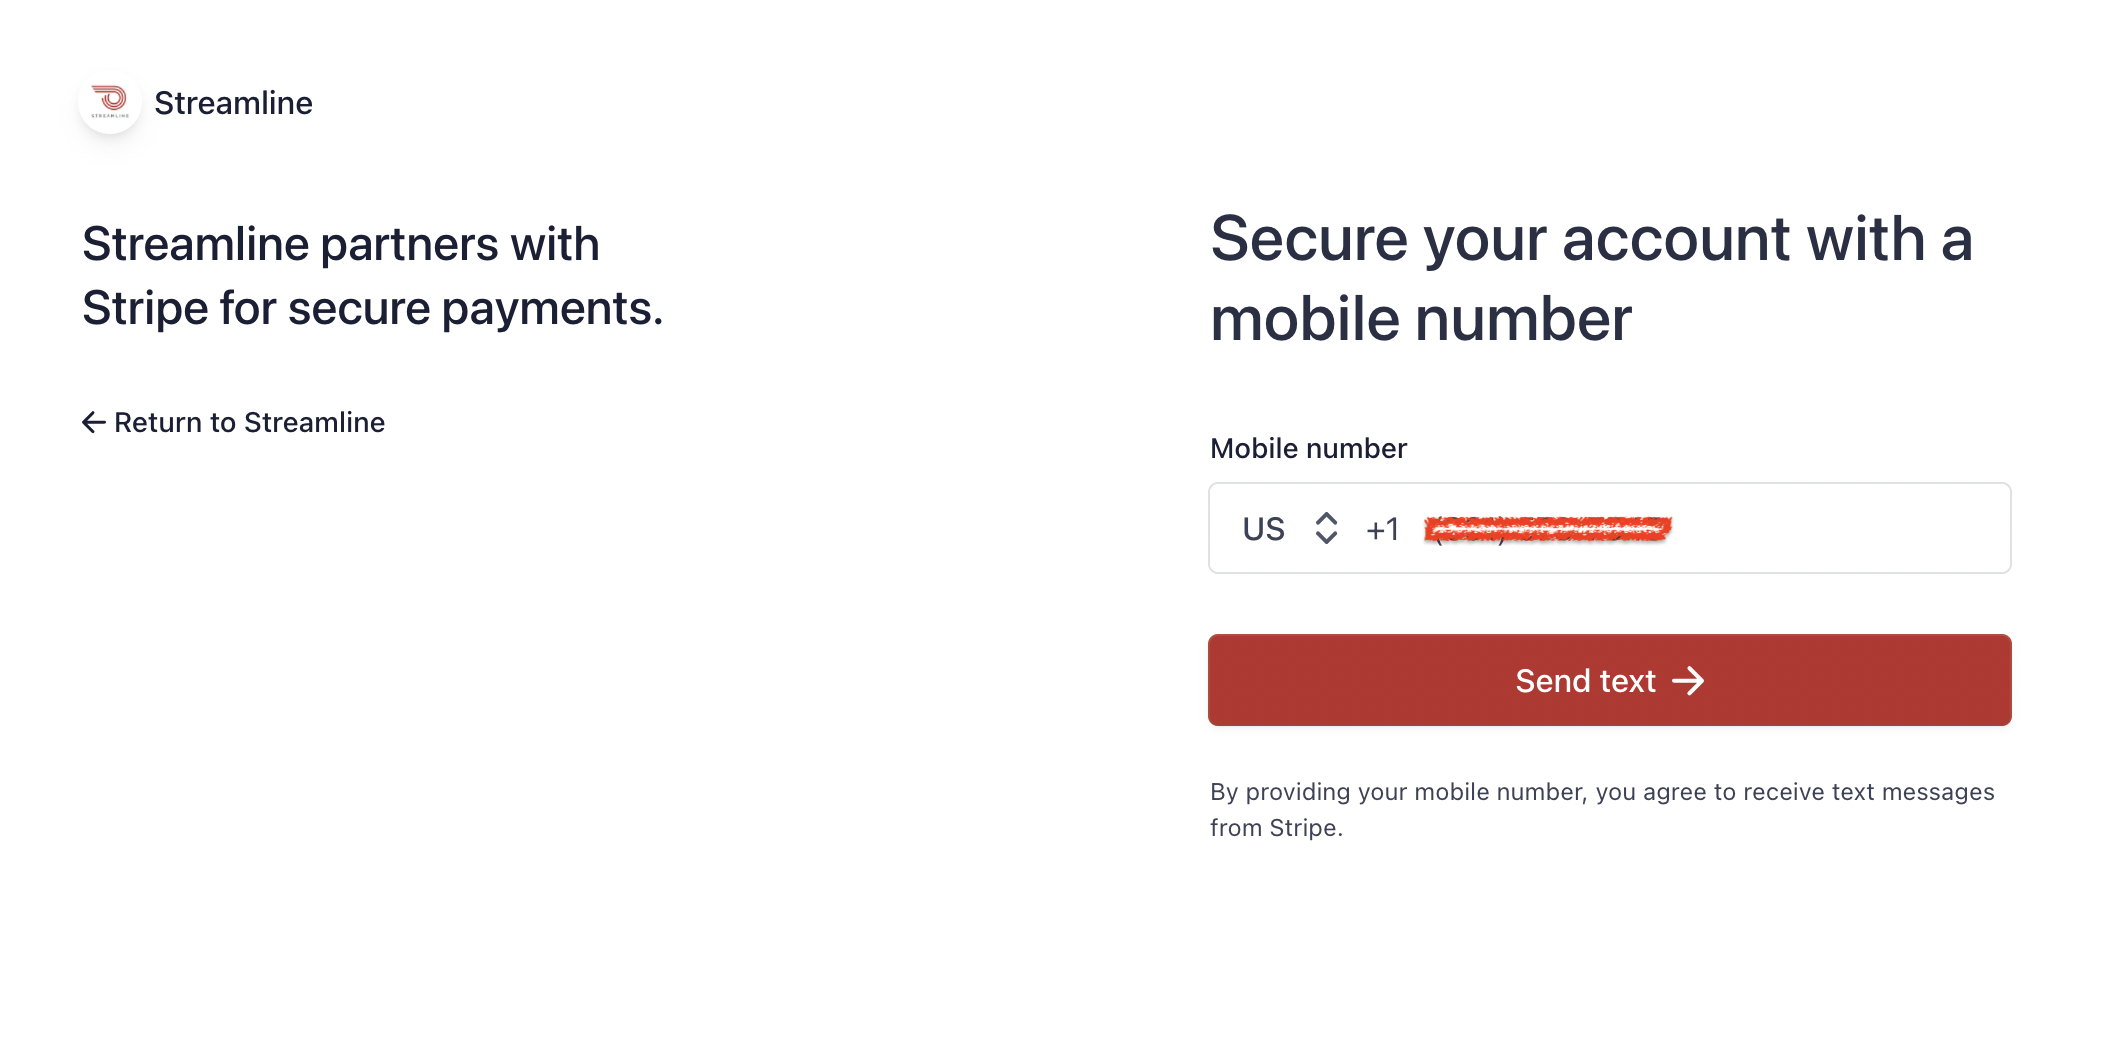
Once you enter a cell number, you'll be sent a text with a code you'll need to enter to proceed.
Note: You should be OK to use your own cell phone for this since this is personal to your account. If you don't have a cell phone and need alternatives, please contact support.
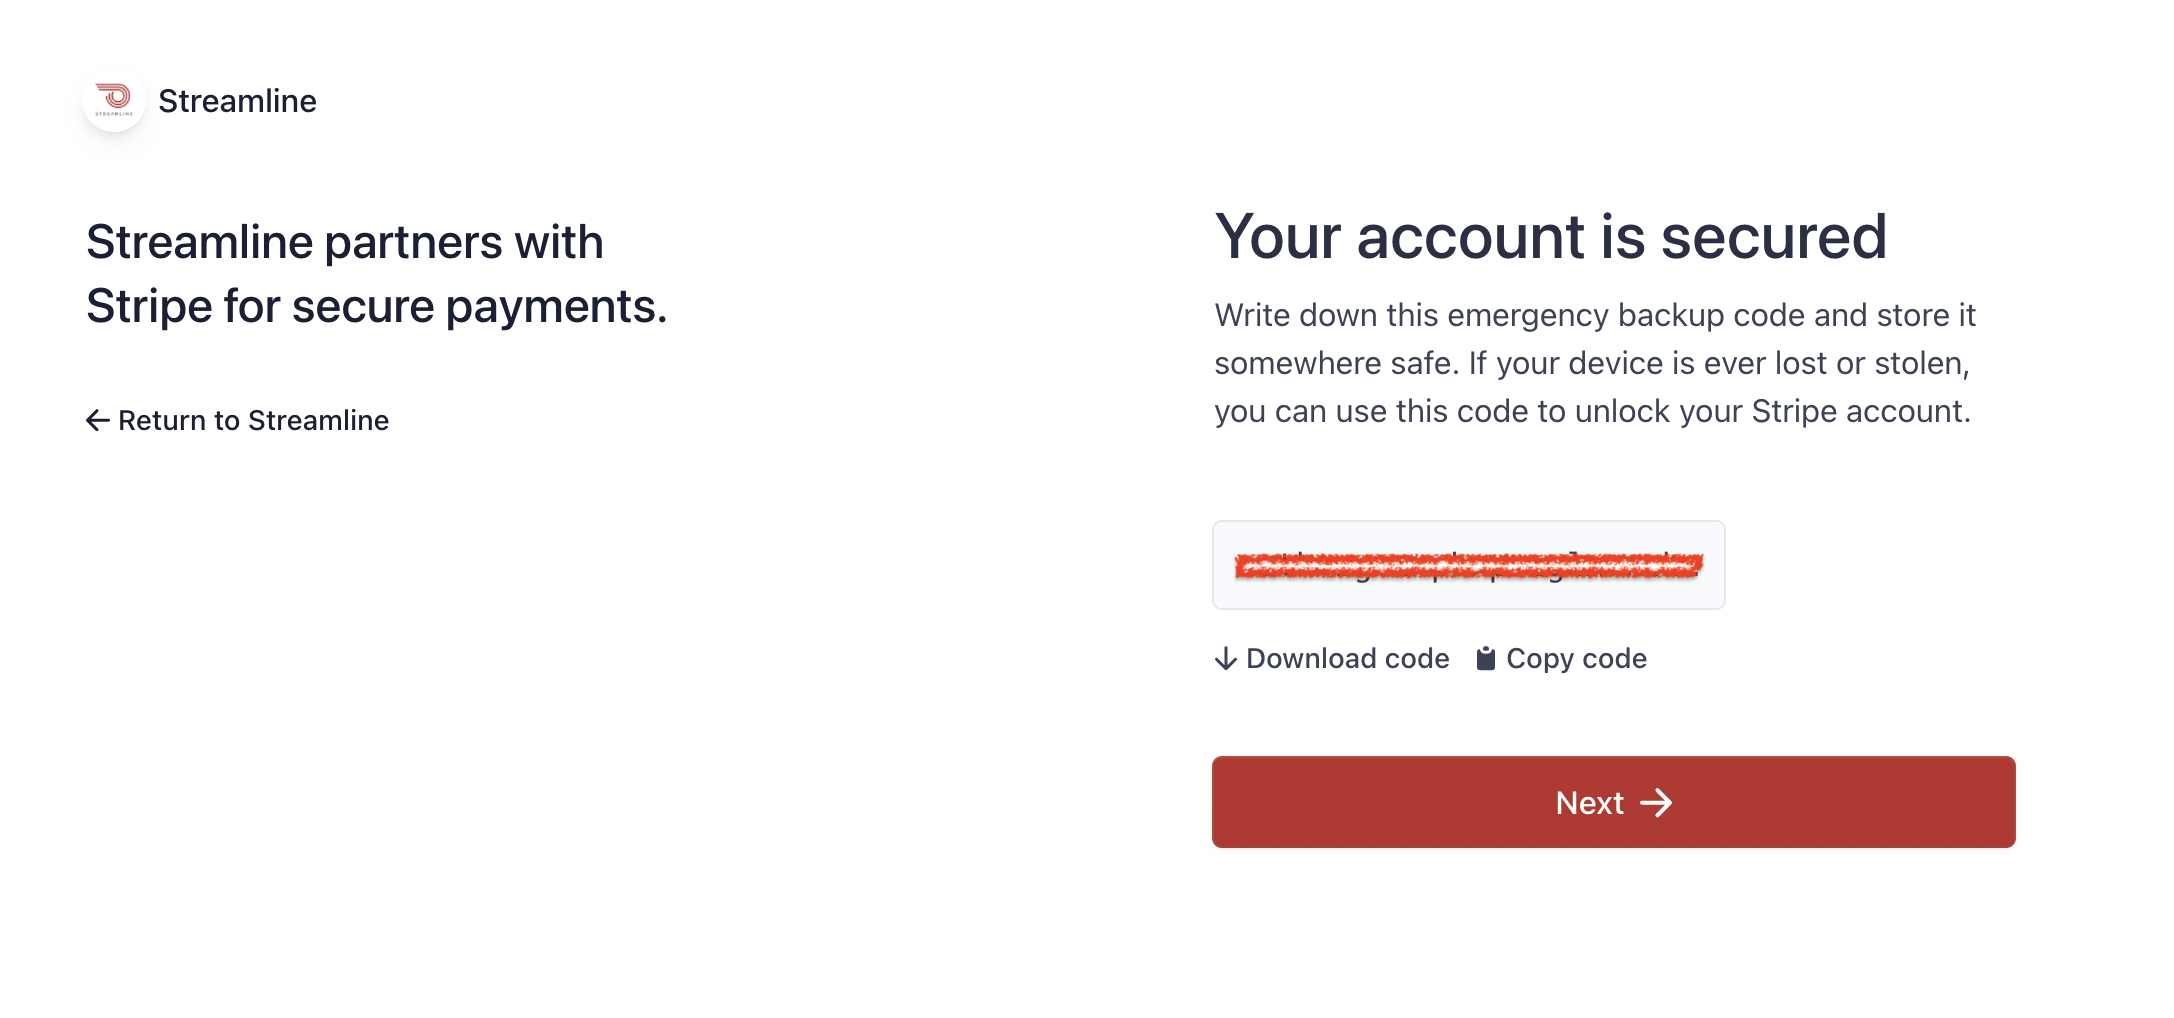
Step 2 - Download your emergency backup code
Once your account is secured, you'll be provided a code you should download or write down to keep in a safe place.
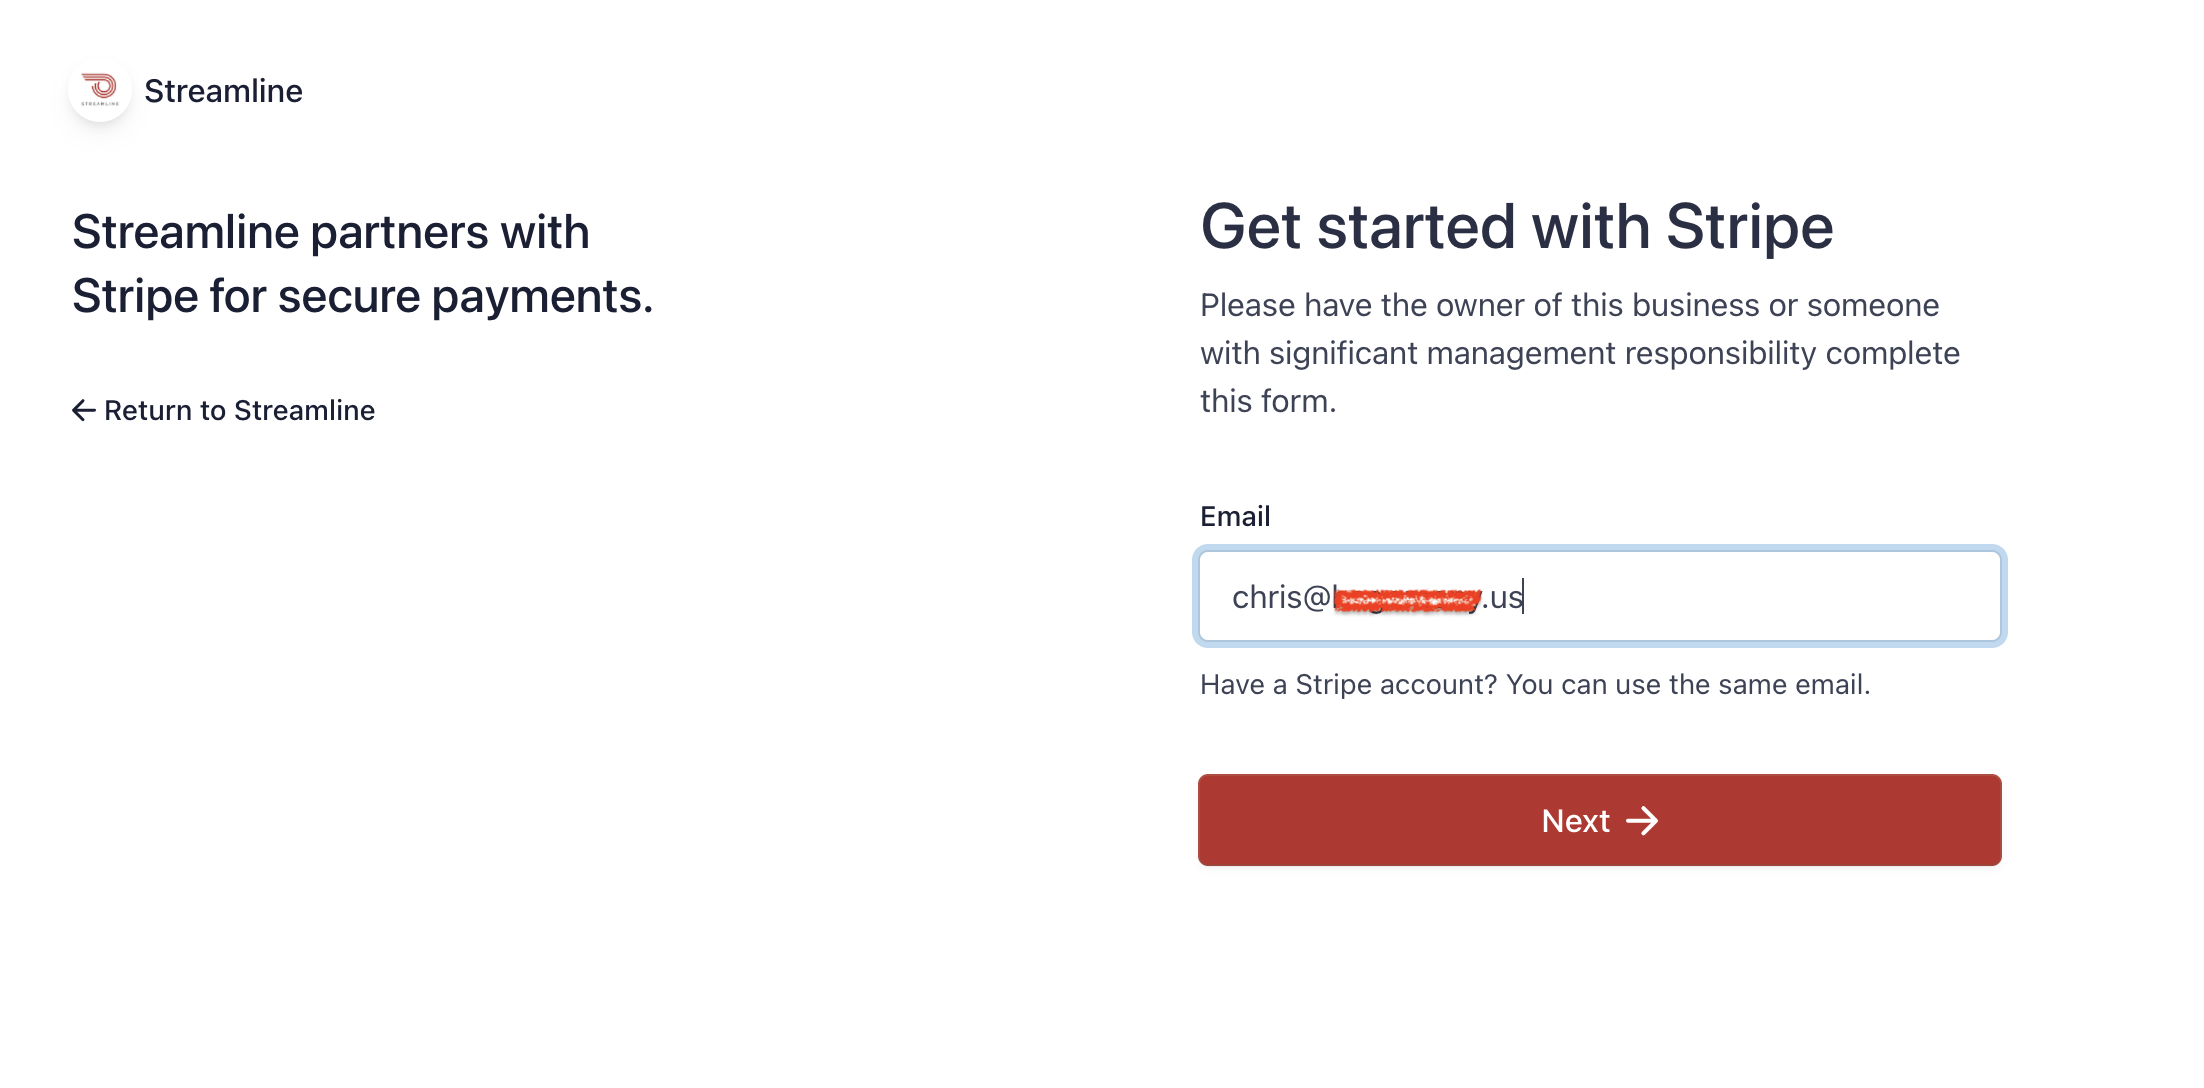
Step 3 - Add your email
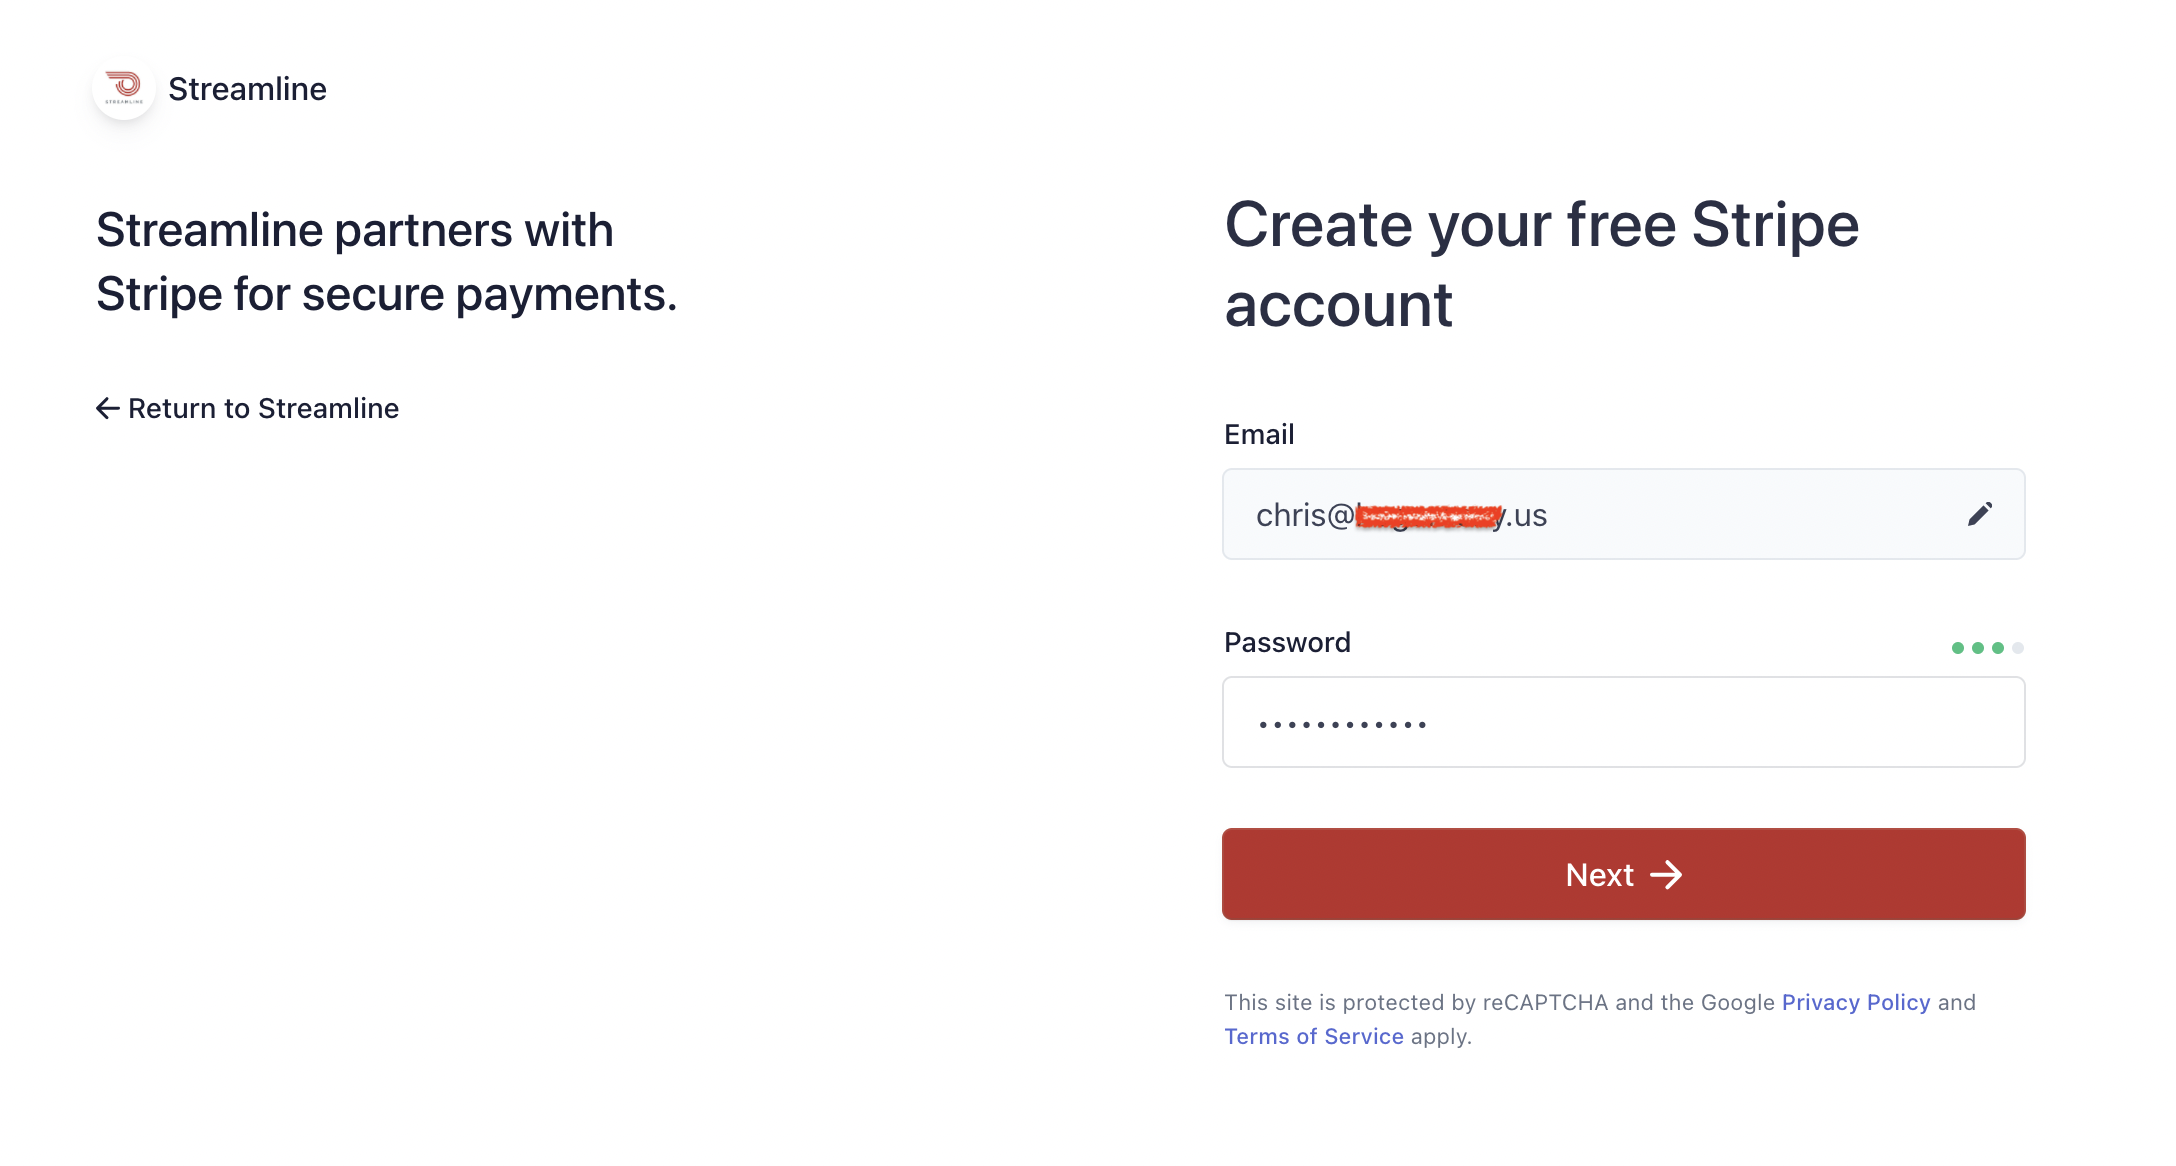
Step 4 - Choose your password
Step 5 - Describe your business pt. 1
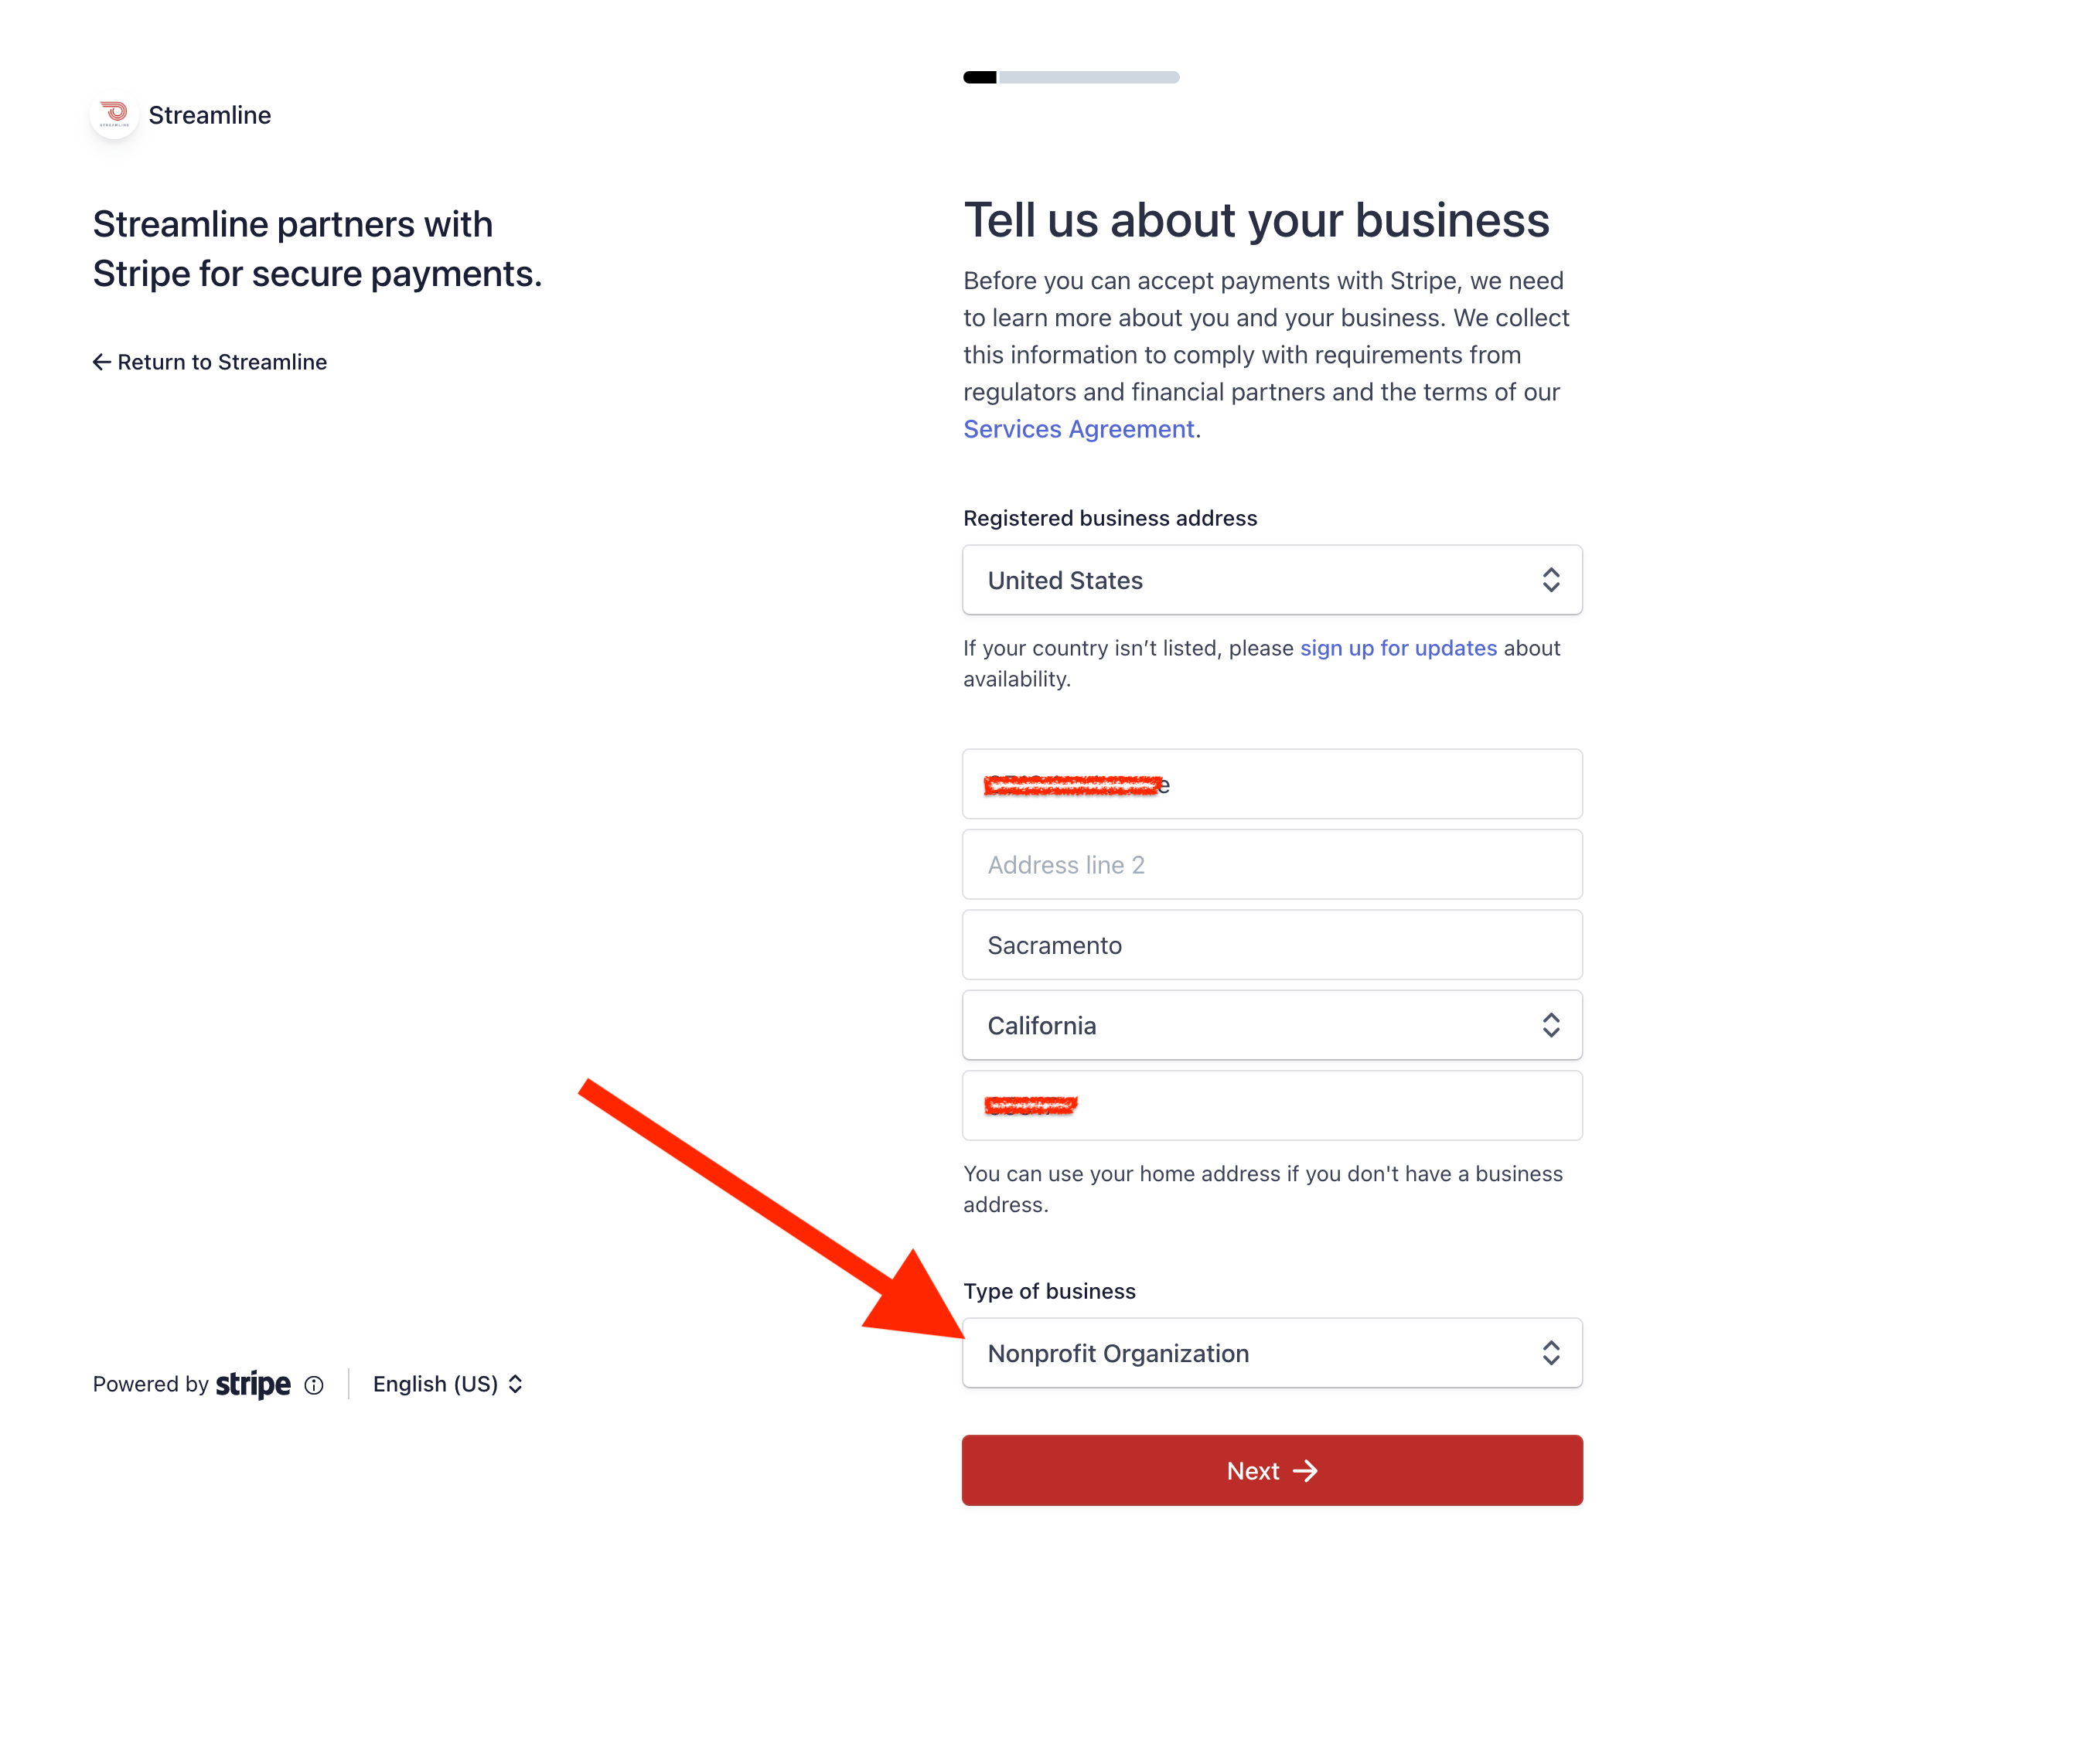
Stripe requires information about your district (called a "business" in a generic sense) such as basic contact information.
Important: choose "Nonprofit Organization" as your Type of business!
Step 6 - Describe your business pt. 2
Provide the remaining details of your district here, including a short description of the types of payments you plan to accept (donations, fees, bill pay, products, etc). Be sure to include your Streamline URL in the site address field!
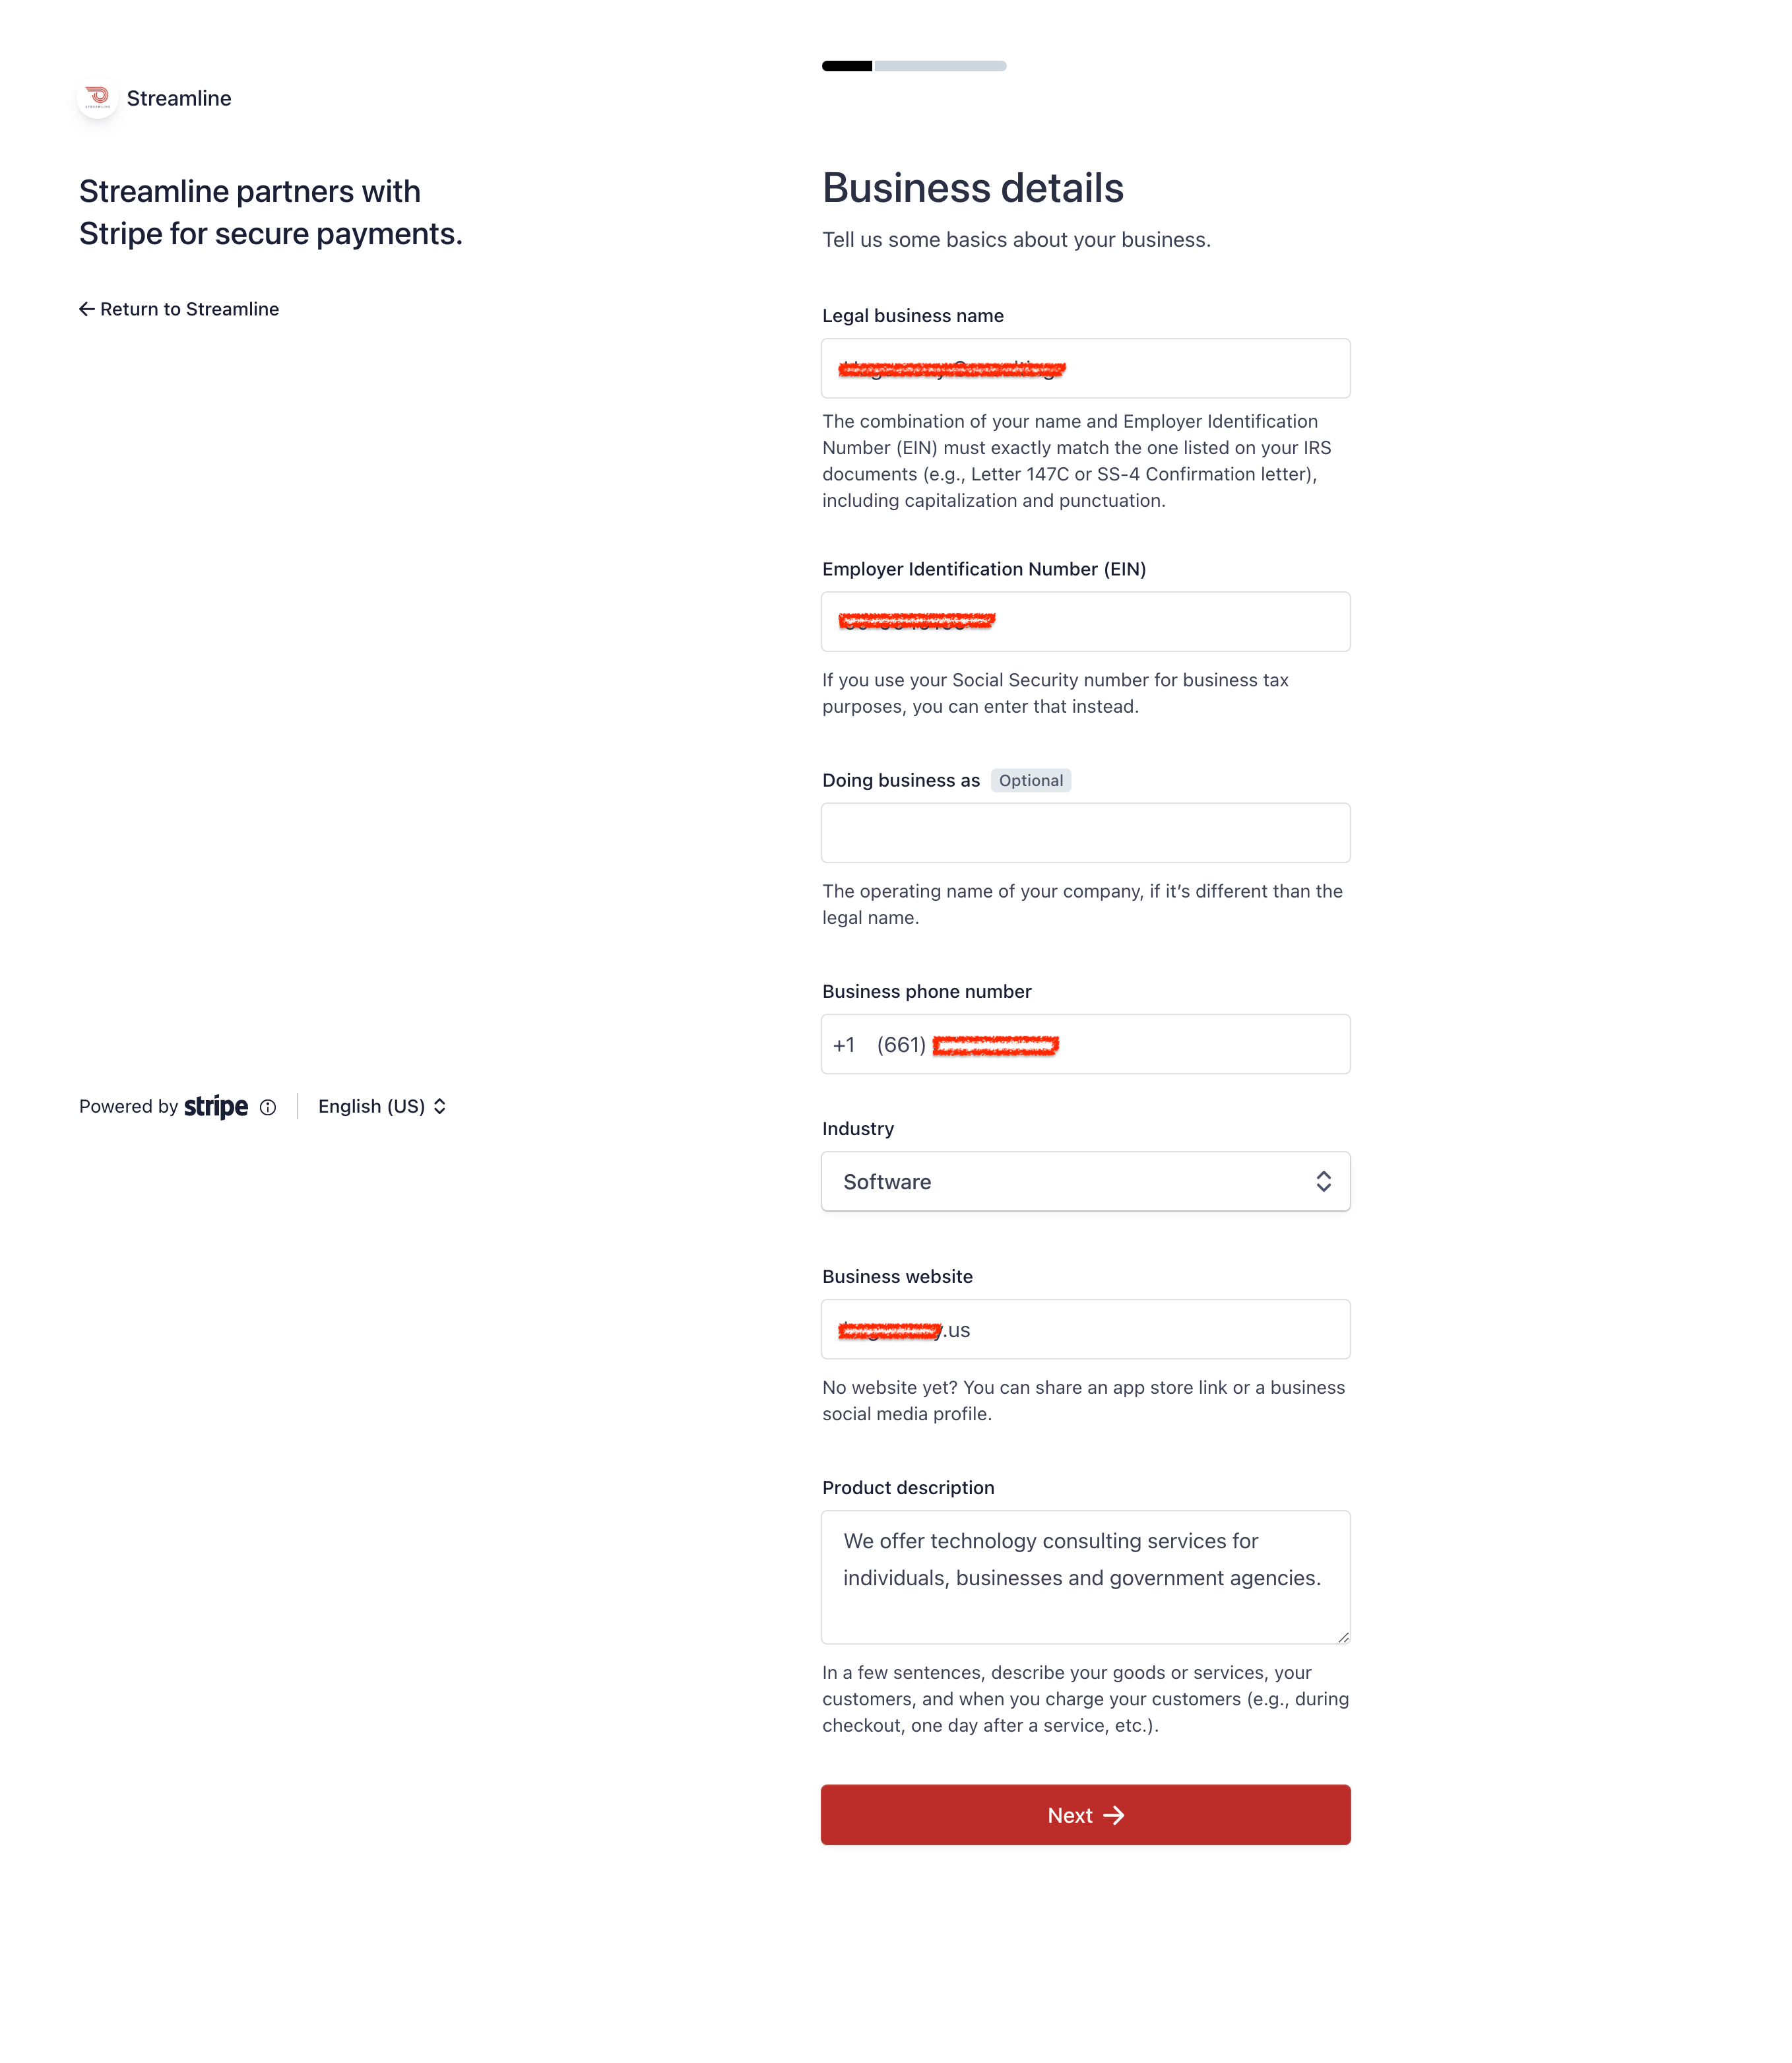
Note: In the Industry section, you can click to expand the different sections to choose the industry you want, or you can search for a specific industry. For most districts, we recommend searching for "Government Services" and choosing that for your Industry selection.

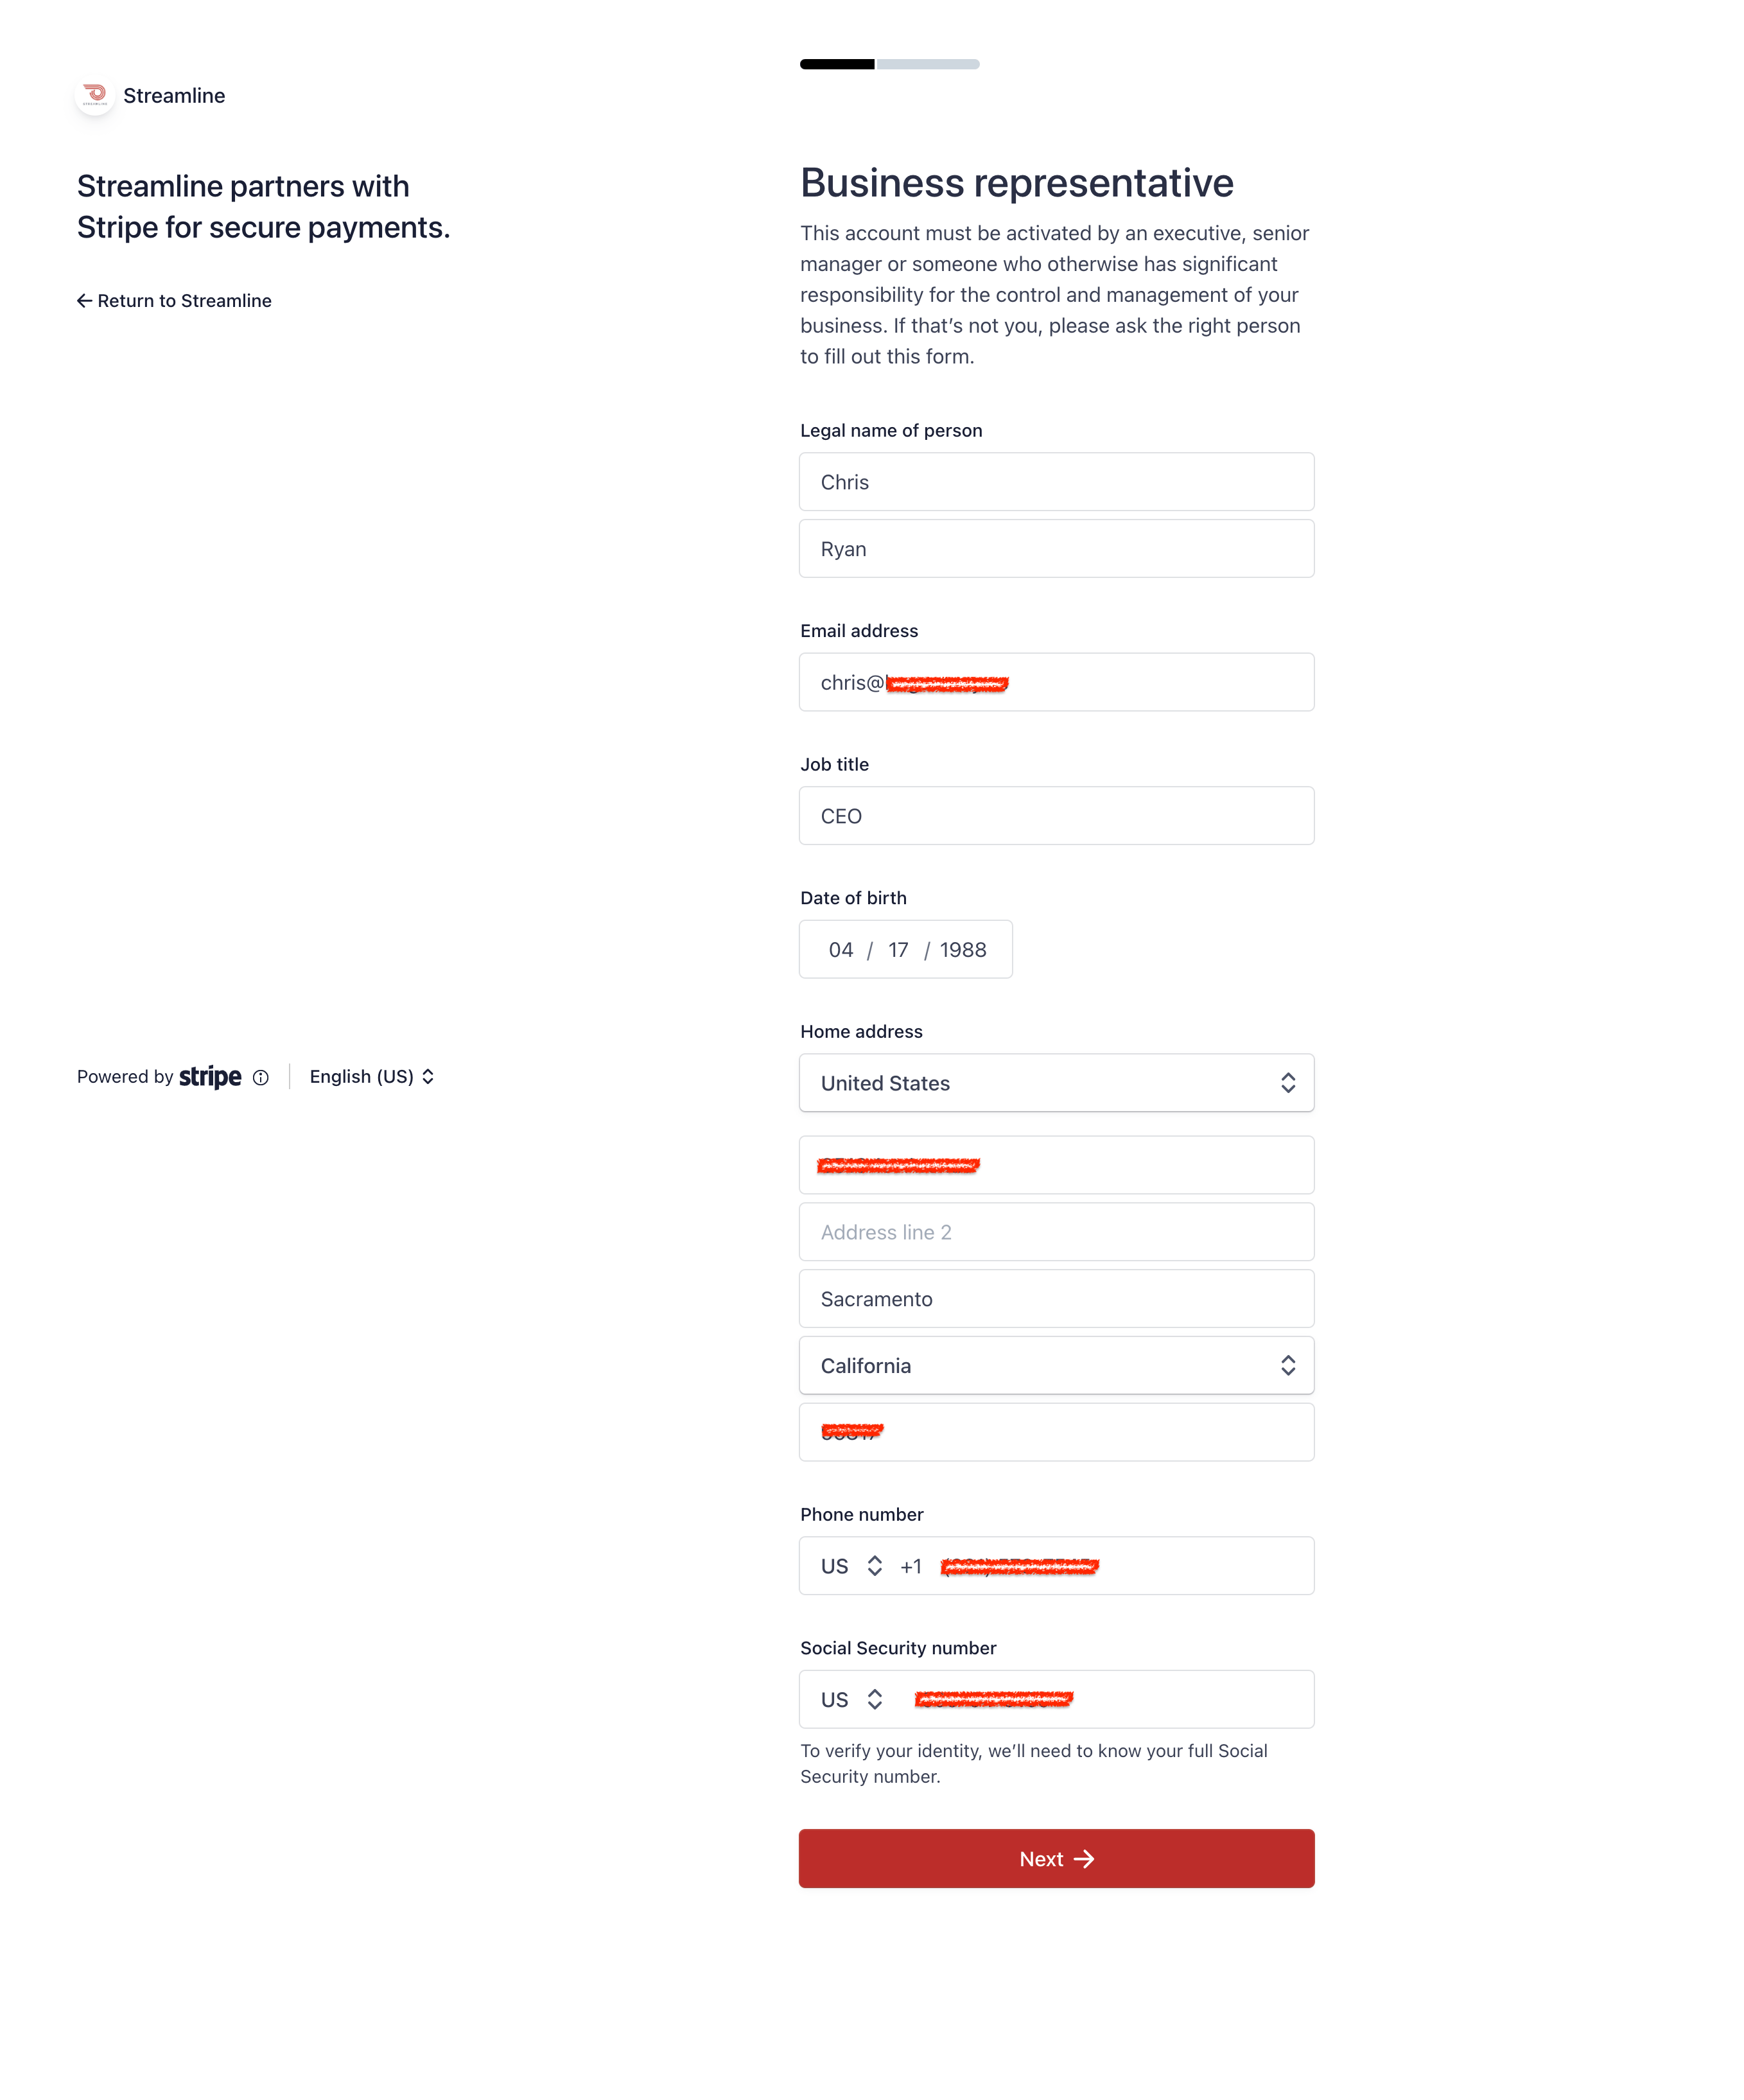
Step 7 - Describe your district representative
Your district representative should be someone able to conduct business on behalf of the district. If you're not sure who that should be, reach out to support!
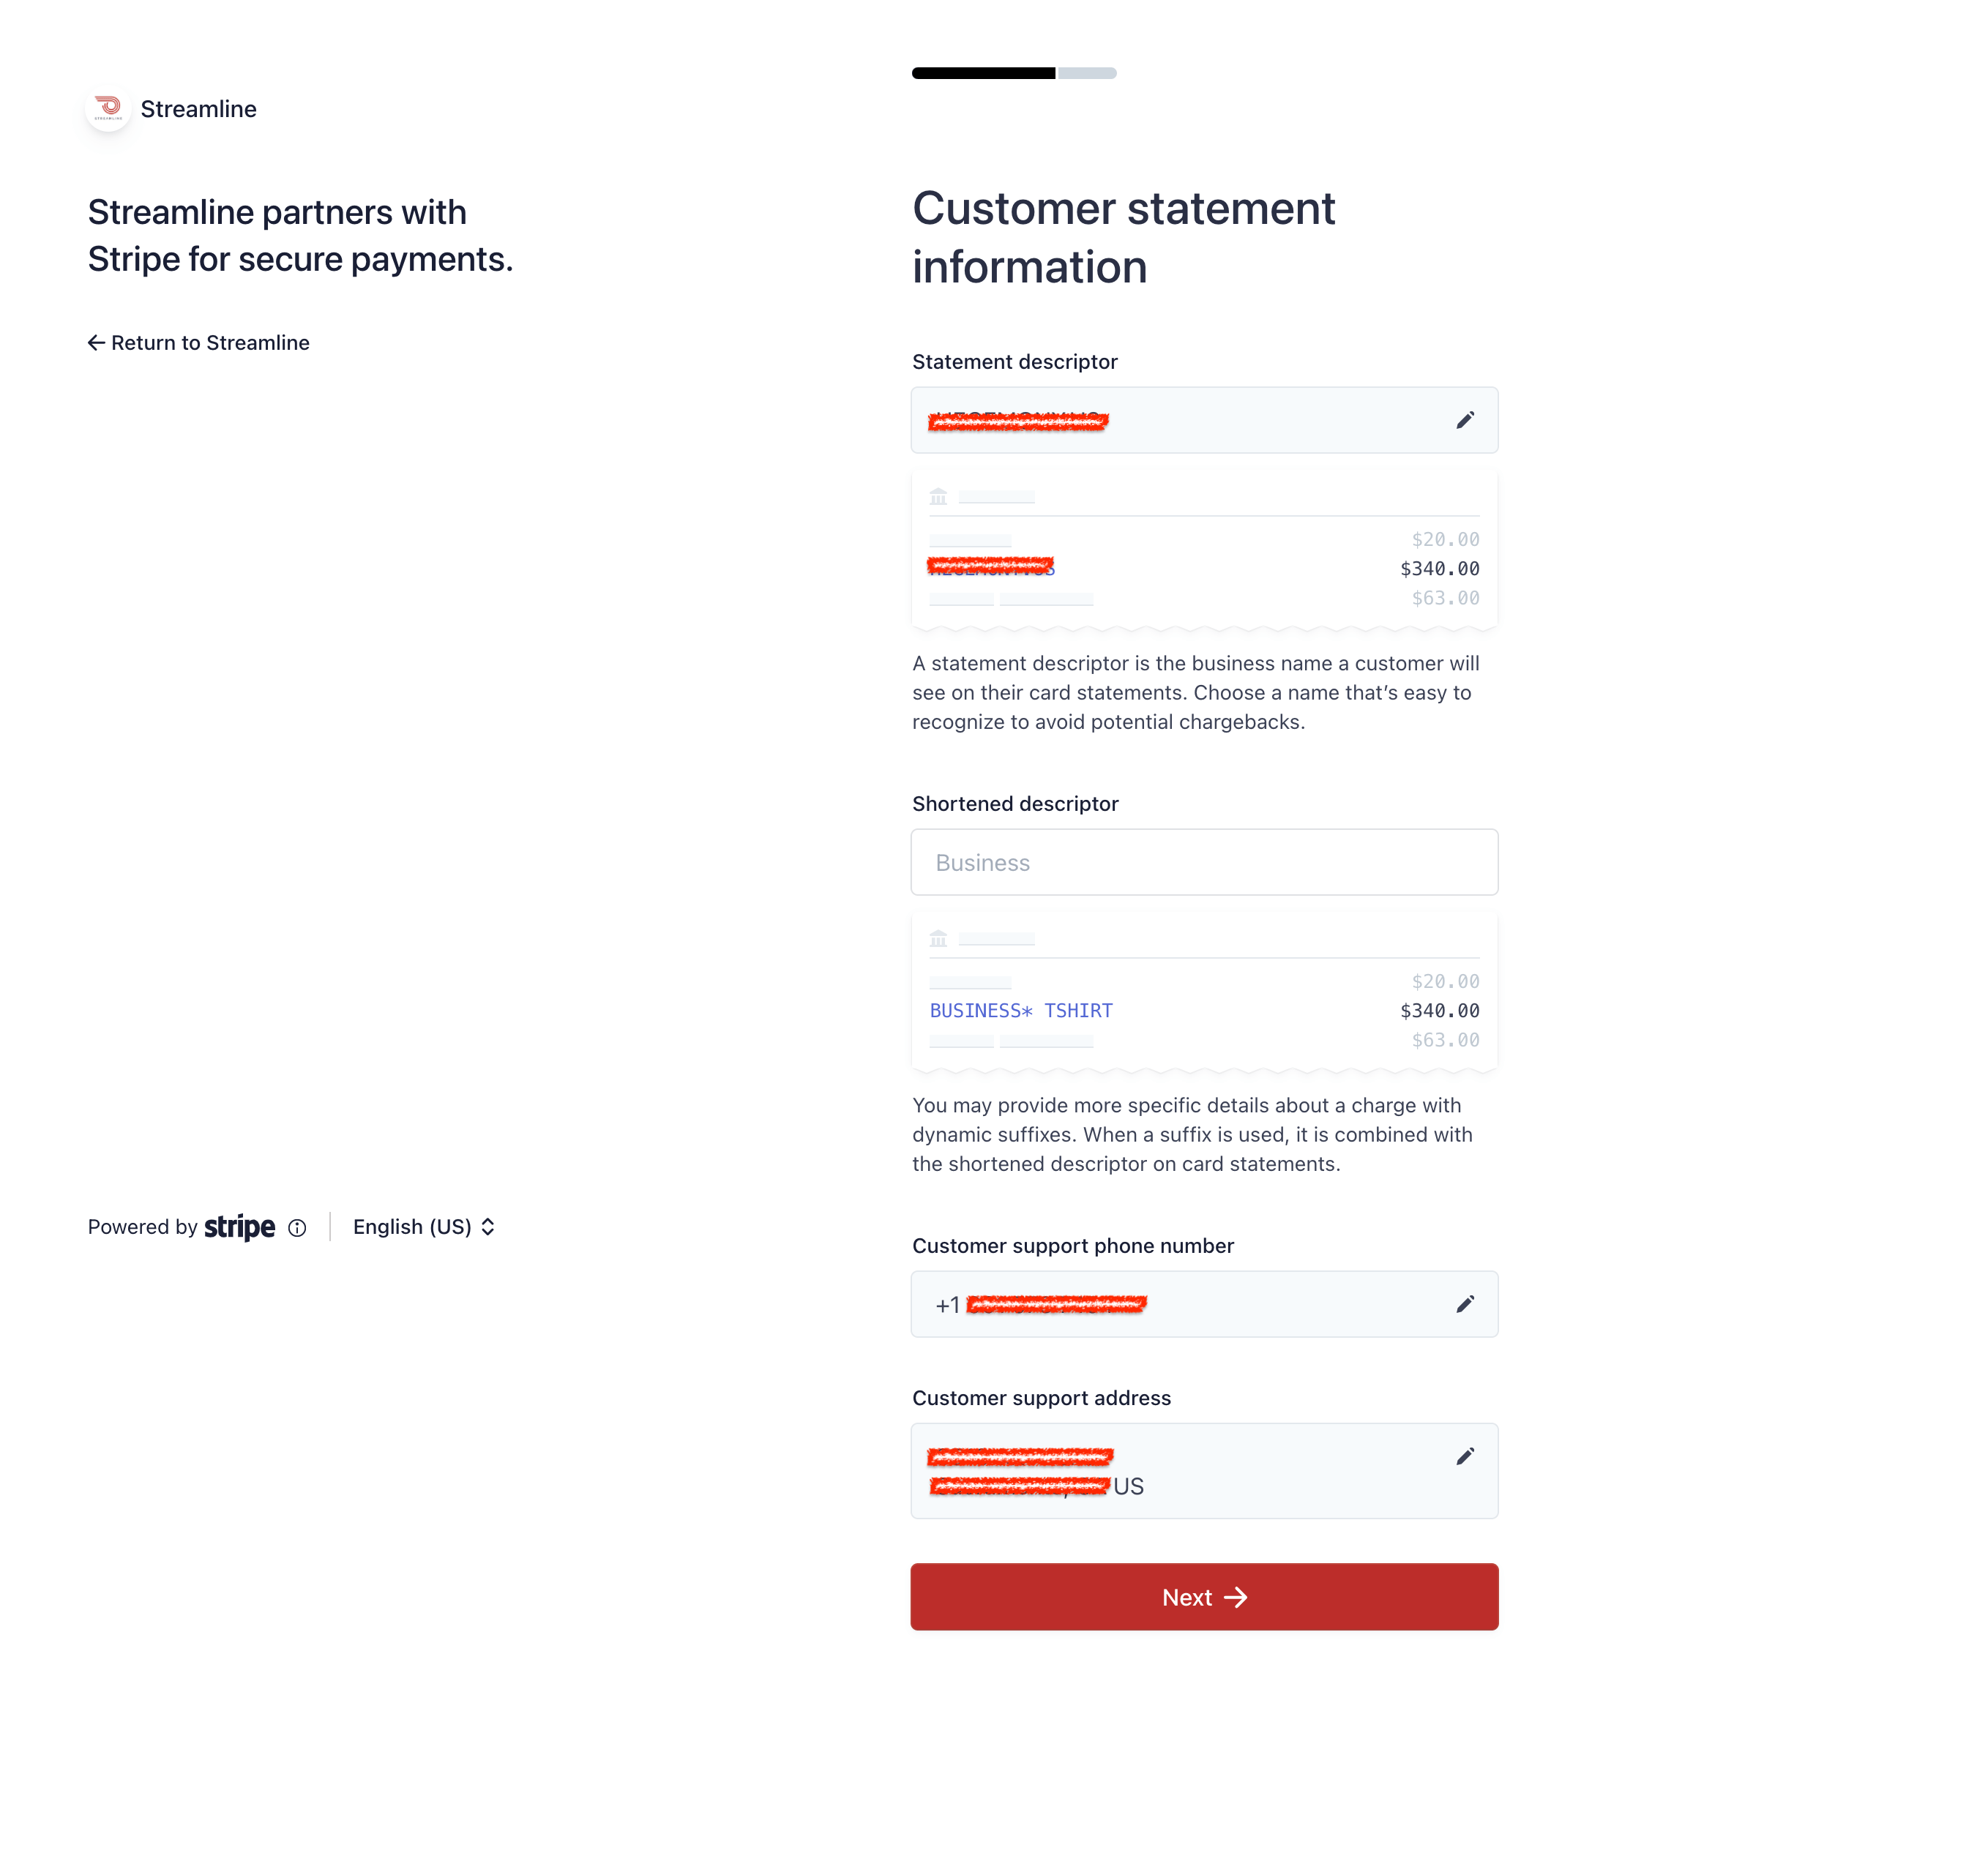
Step 8 - Finalize your statement information
Here you can include a short "descriptor" that will appear on your customers' statements as well as provide contact information for the customer to reach out to you for support:
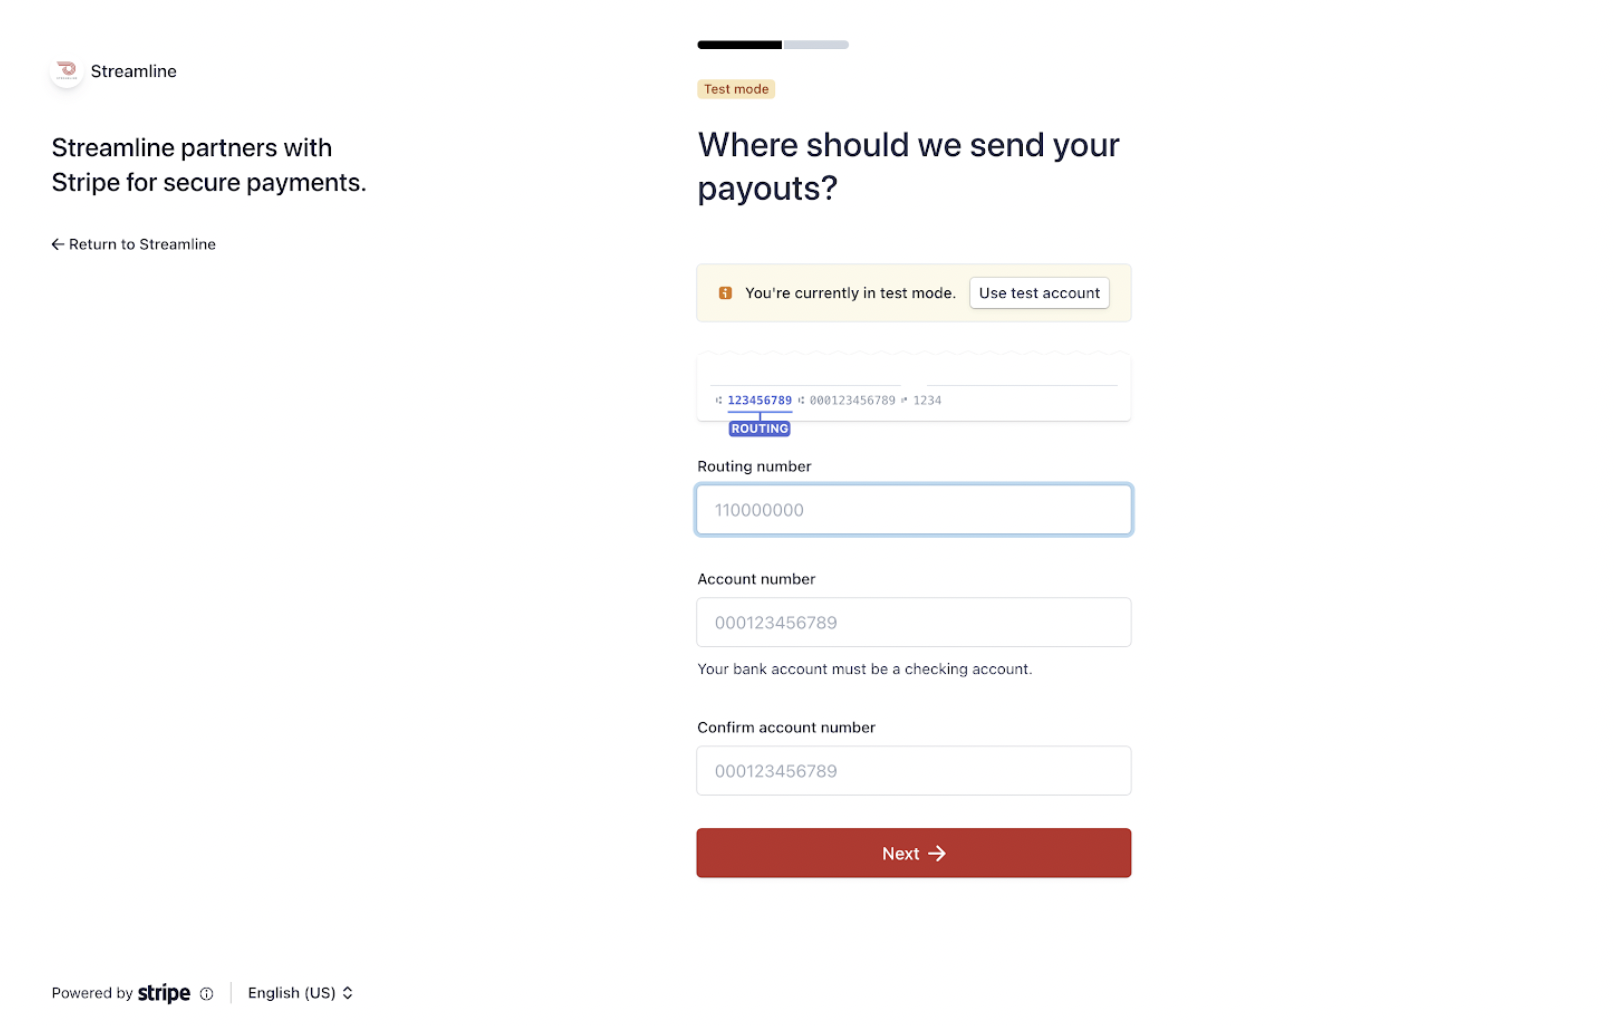
Step 9 - Add your banking information
Go ahead and add in the routing and account number for your district's checking account here:
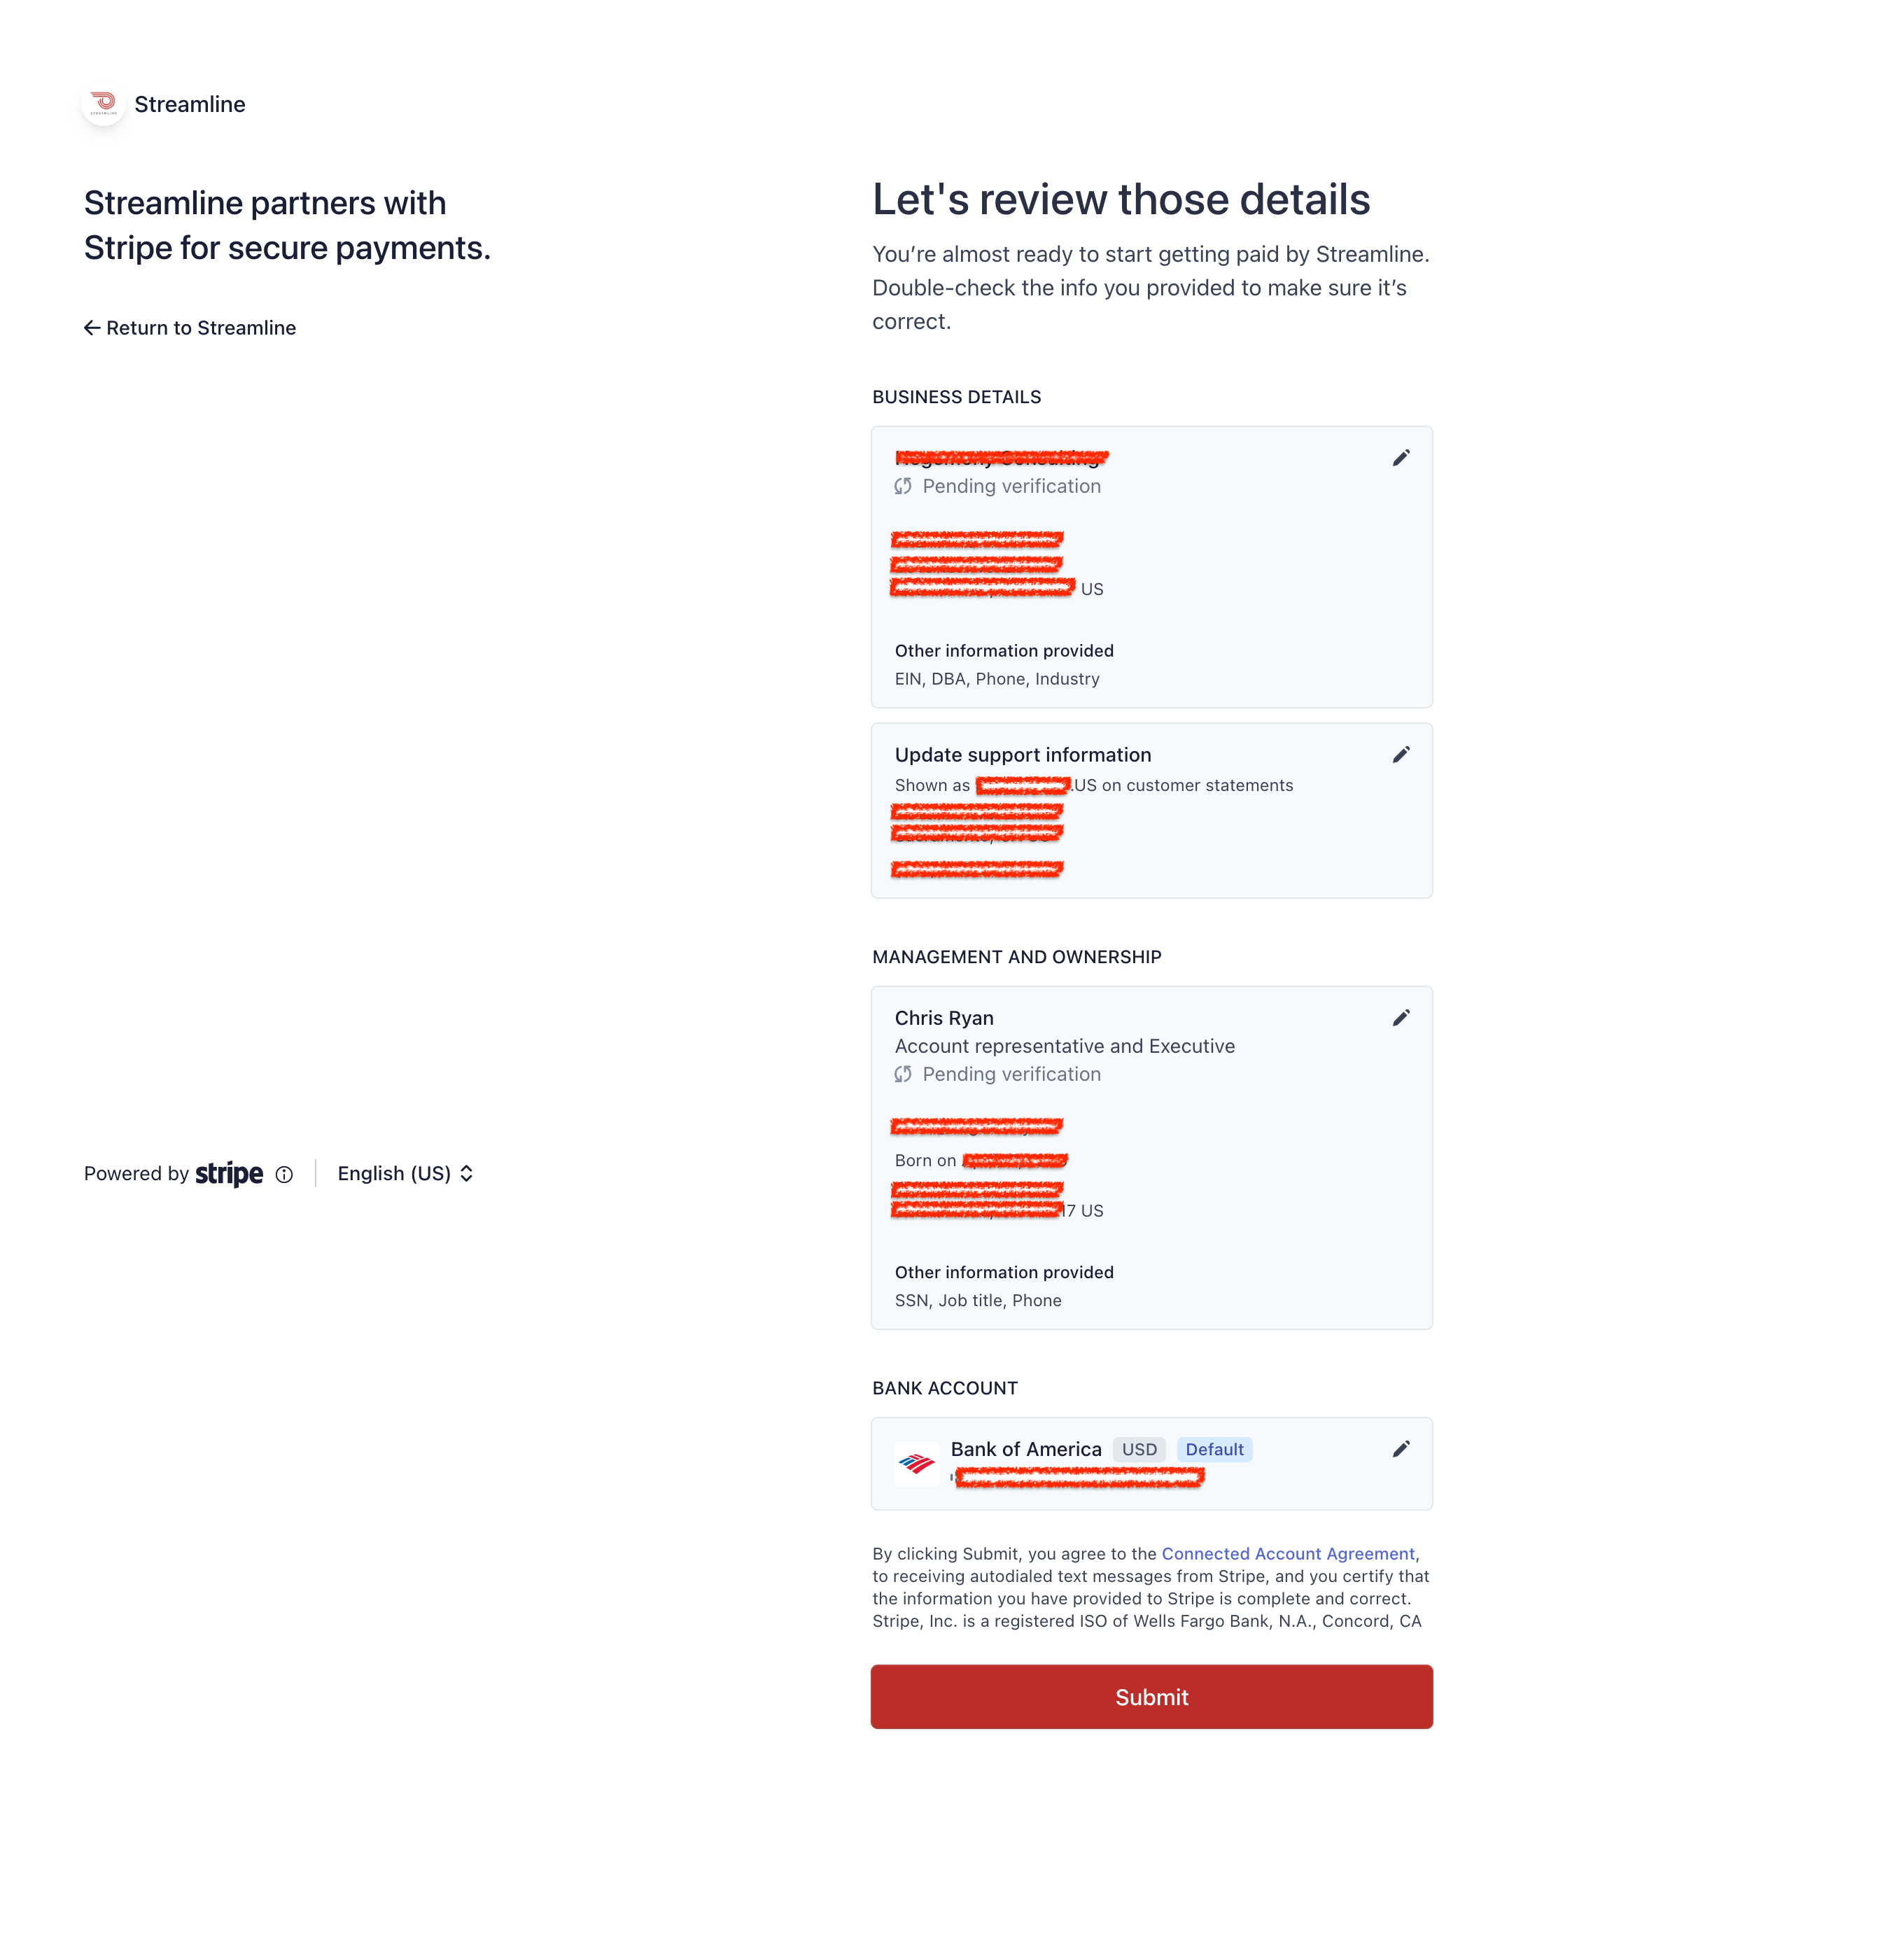
Step 10 - Confirm details
Make sure all of your information is correct, and click on the red Submit button when finished!
Finalizing your account
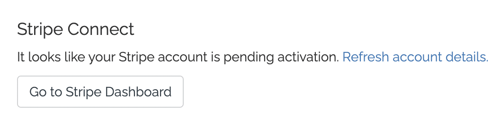
Once you have completed the set up process, you'll be taken back to the Streamline Payments tab where you should see your account is still pending verification:
Once your account is activated, you'll be able to add products and receive payments!
Return to our Getting Started guide to learn more >
Note: activation can take anywhere from a few minutes to a few days. If you're seeing any issues or delays, click on the "Go To Stripe Dashboard" button to view more information.