Last updated: August 2025
Typing and Basic Formatting
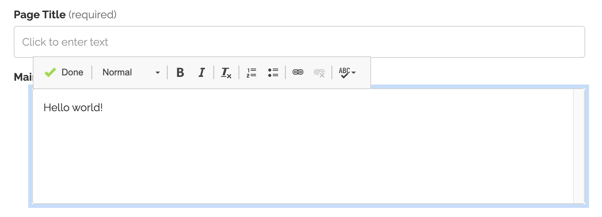
Click into the Main Body content area while editing any page to begin typing. You can type into this area just like most text editors, using the Return/Enter key to add new paragraphs as you go.
You can:
-
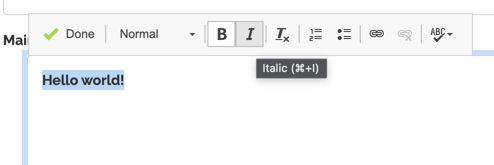
Highlight text and apply bold or italic formatting.
-
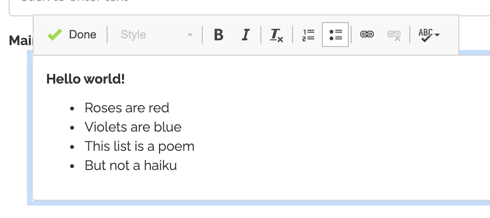
Create bulleted or numbered lists.
-
Use Shift + Return to move down a line without creating a full paragraph break.

Using Subheadings and Styles
For stronger page structure, use the Styles menu to add subheadings and callouts.
⚠️ Accessibility Reminder:
-
Headings must always be used in descending order (e.g., Heading 3 → Heading 4 → Heading 5).
-
Do not choose a heading “just for style”. Headings serve a critical role in accessibility by helping screen readers and search engines understand page structure.
When editing, your headings may look one way in the editor, but when saved, they will display according to your site’s design.
✨ More style choices are coming soon. However, for accessibility reasons:
-
You will not be able to center or change the visual style of text.
-
Fonts and scripts can be customized on the backend, but must remain accessible.
When editing, here is how these styles appear:
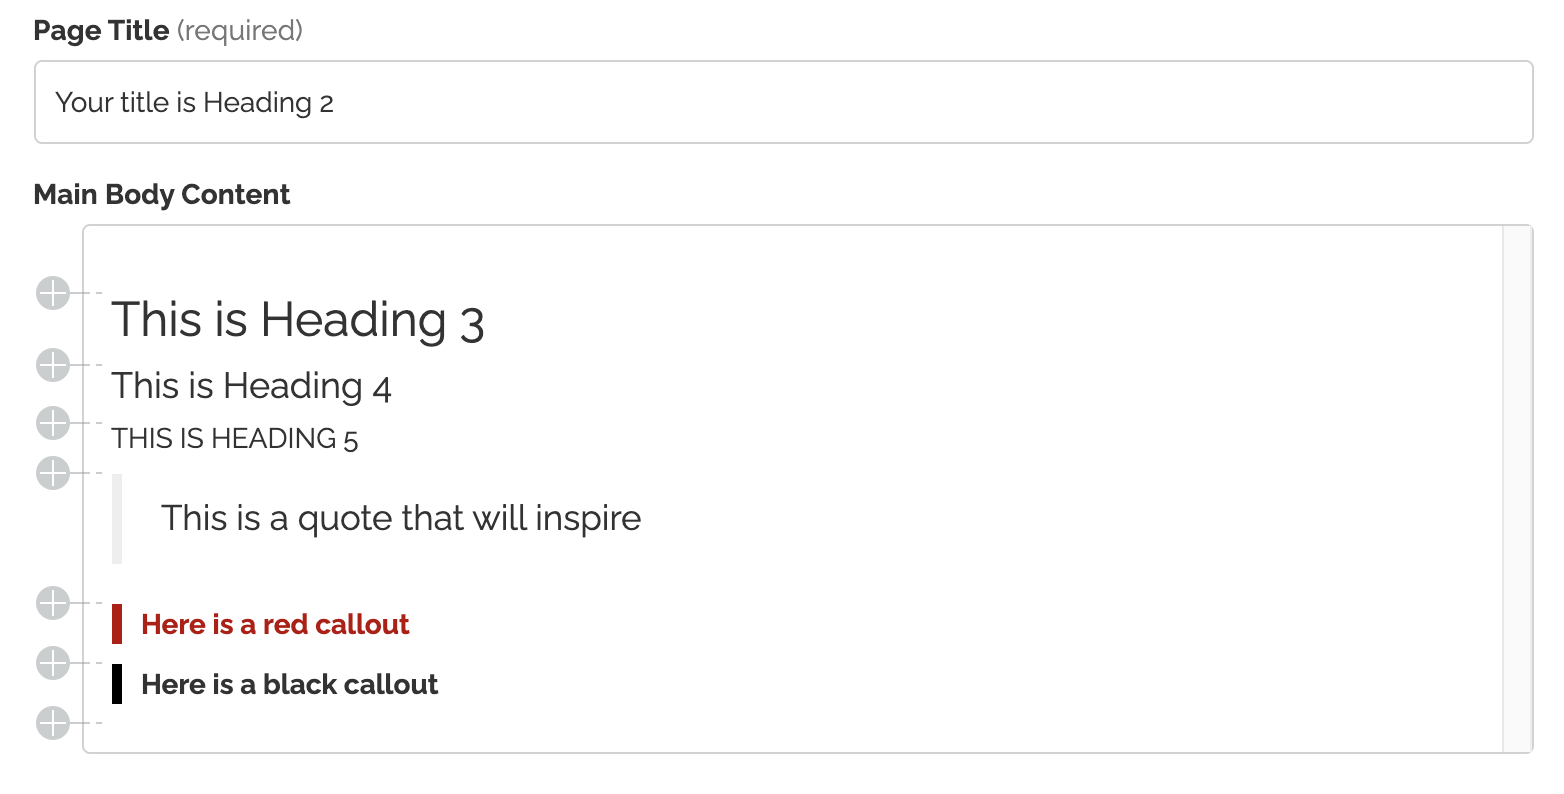
When you save the page they will look like this:
.png?width=670&height=407&name=unnamed%20(5).png)
Best Practices for Accessible Text
To keep your site content clear, readable, and accessible for all visitors:
-
Use headings in proper order — never skip levels.
-
Avoid using ALL CAPS for large sections of text. Screen readers may interpret this inconsistently, and it can reduce readability.
-
Keep paragraphs and sentences short for easier scanning.
-
Use bold and italics sparingly to highlight, not overwhelm.
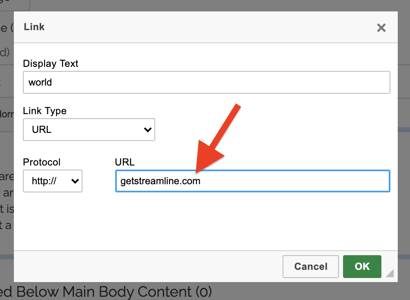
Adding Inline Links
You can highlight any text and click the link icon to turn that text into a hyperlink. Be sure to have the URL of the page or resource you want to link to.
To update a hyperlink:
-
Highlight the existing link.
-
Click the Remove link icon.
-
Add the new link fresh to avoid errors.
⚠️ Inline Link Best Practices:
-
Do not use the same hyperlink multiple times on the same page — it can confuse users and assistive technology.
-
Avoid linking phrases like “click here”; instead, make the link text descriptive (e.g., “View our meeting schedule” instead of “Click here”).
-
Be careful not to accidentally include a trailing space in the hyperlink — a common error that can break the link.
-
For more examples of correct link naming, see our support guide on link name issues.