Engage is available on our Community Pro and Operations Pro packages.
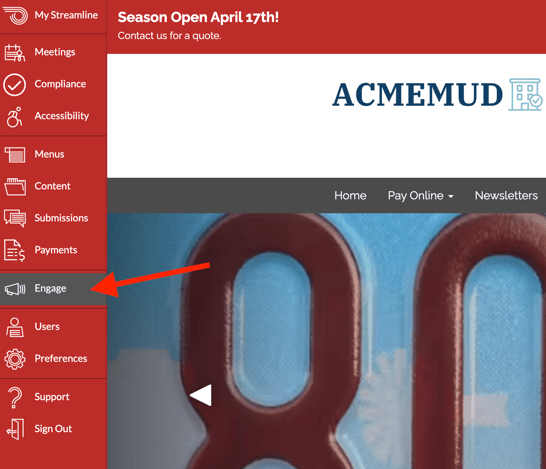
With Engage enabled, any page* on your site can be converted into a beautiful email that you can send in a flash. But first, we have some set up to do. Let's head over to your new Engage tab to begin:
Welcome to your new Engage tab! You'll see there are four smaller tabs: Campaigns, Lists, and Contacts and settings. On the campaigns screen you will see four steps to getting started, until you send your first campaign (more on that later):
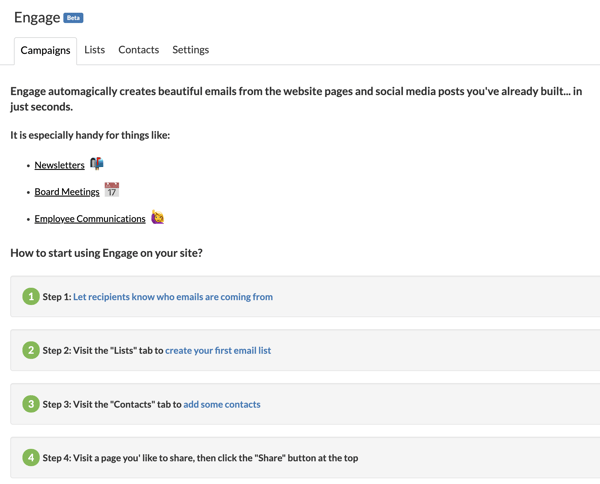
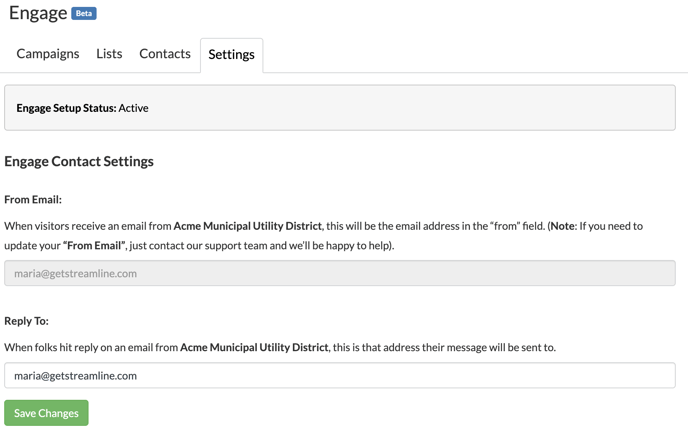
Step 1: Visit the "Settings" tab to get Engage set up
Let's set up our Engage contact settings. The "From Email" will already be entered. Note: If you need to update your “From Email”, just contact our support team and we’ll be happy to help.
In the "Reply to" section please enter the email address you would like to be used when folks hit reply on an email. When finished click the save changes button.
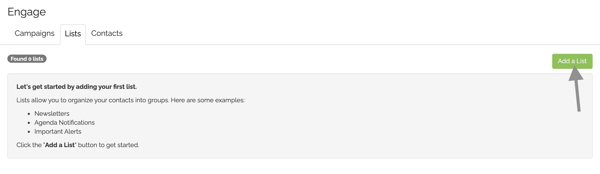
Step 2: Visit the "Lists" tab to create your first email list
Let's create our first list via the Lists tab:  Then go ahead and click on the green Add a list button:
You'll see a pop up screen where you can choose a name for your list and choose whether it will be public or private. I'll go ahead and create a list for folks interested in receiving Meeting Reminders and make sure it's public:
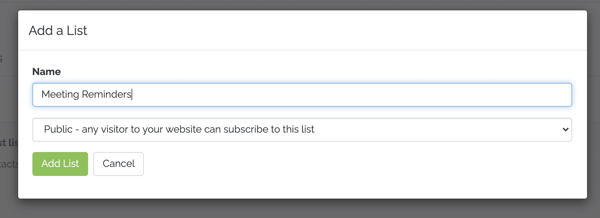
When finished click the Add List button. If you have additional lists to add, go ahead and do that now before heading to Step 3.
Note! As soon as you complete step 2 by creating a public list, that will trigger a button to appear on your homepage allowing any visitor to enter their email to sign up for that list 

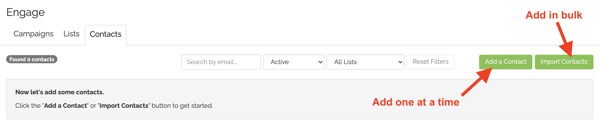
Step 3: Add contacts via the Contacts tab
From the Contacts tab, you can either add contacts one at a time, or if you have an existing email list, you can import them in bulk:
If you're already communicating with a list of contacts, let's choose the Import Contacts option to proceed: 
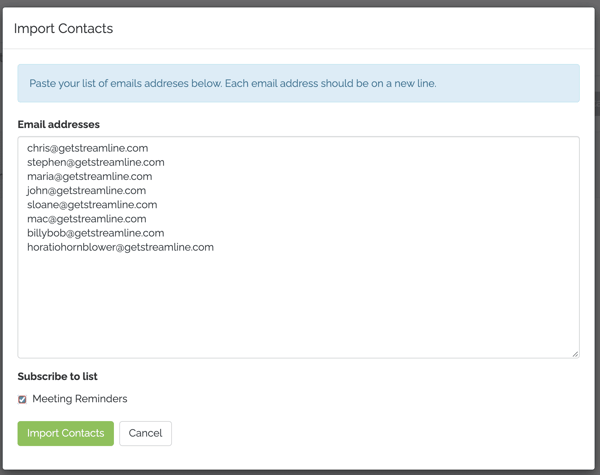
You'll need to enter each contact's email on separate lines. Below that, choose the list(s) the contacts should be subscribed to. Finally, click Import Contacts to begin the import process: 
Tip: If you're importing a list from a spreadsheet (Excel or CSV) you should be able to highlight the entire email column, copy that column, and paste into the above import field. If you're having any trouble with this, email us and let us know!
When finished importing you should see something like the following which indicates everything was imported successfully:
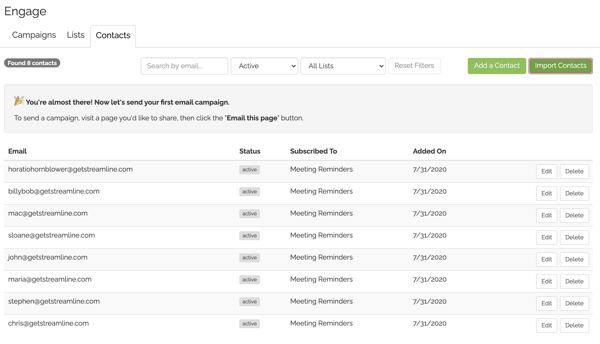
Of course, if you have multiple lists and more contacts to import, you can repeat steps 1 and 2 for each list and set of contacts you would like to import before moving on to step 3.
Step 4: Convert and send a page via Engage
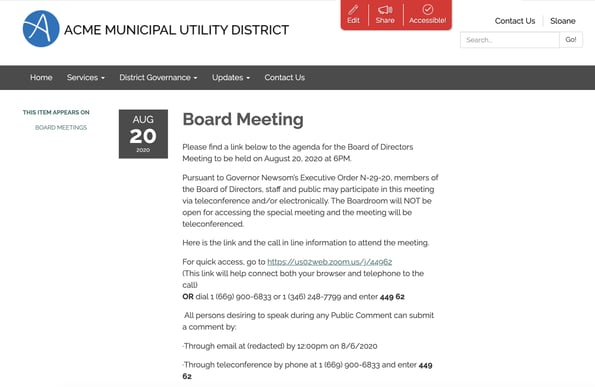
We're finally ready to send our first email using Engage! Let's navigate to the actual page we want to send; in our example case, this will be a Meeting page we have created for an upcoming board meeting:
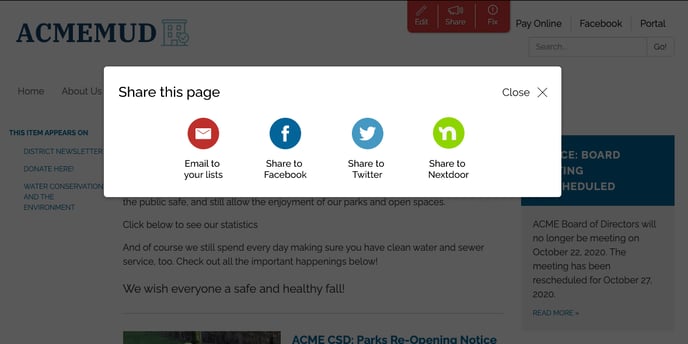
You'll notice at the top of every page* there is now going to appear an "Share this page" button right next to the "Edit this page" button. Go ahead and click on that to convert this Meeting page into a shareable format. In this instance we are going to select "Email to your lists"
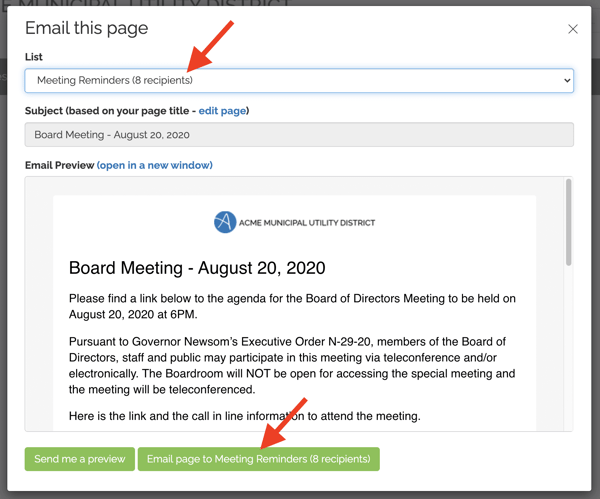
After selecting "Email this page" a new screen will appear with the page you are sharing.

From this screen, you can choose which list you'd like to send this email to [A]. If you see any changes you need to make, you can click the edit page link [B] to bring up the page editor and make your changes. If you want to see a preview of the email before sending, you can either open the email in a new window [C] or email it to yourself [D] to see it in your actual inbox.
When you're ready to send, choose the list [A] and then you'll have the option to send the email out [E]:
After clicking on the Email page button you'll have one last chance to confirm before sending:
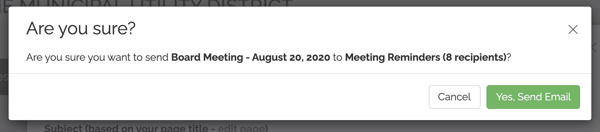
Once you're ready, click Yes, Send Email. Congratulations! You did it!
Reviewing your campaign stats
Once you have sent out an email, it's time to head back to the Engage tab to see how our campaign is doing using Engage's real time analytics:

From this screen you can see a summary of information about the campaign. For more information and a full breakdown of who received / opened / clicked on your email, click on the green View Details button next to that campaign:
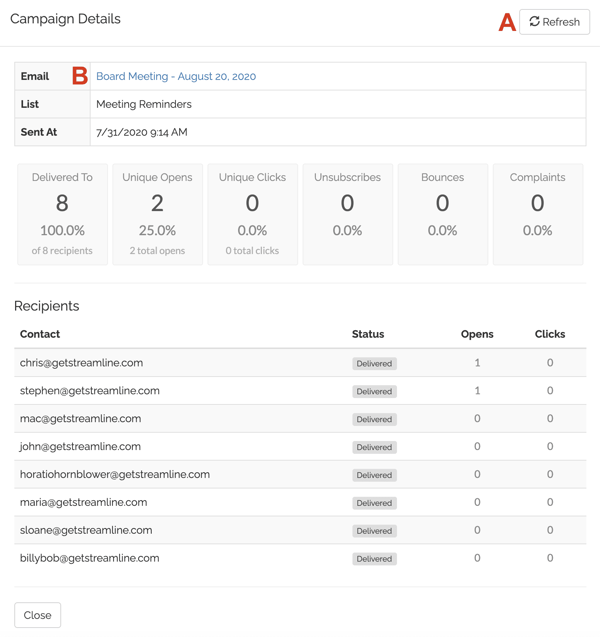
From this screen, you can see all details about the campaign, including a contact-by-contact breakdown of who received, opened, and clicked on the email. You can also monitor for things like bounces, unsubscribes, and more.
You can click on the refresh button [A] to get a live update of the stats in real time, or if you want to see what email you actually sent, click on the subject of the email [B] to view in a new window.
What now?
This guide is designed to walk you through your first campaign, but there is certainly more to learn. Stay tuned for more tutorials and content to help you create a newsletter, design beautiful emails, handled bounces and unsubscribes, and more!