Last updated: September 2024
Introduction
Every state has specific requirements for what special districts need or should post to their websites. No matter what state you're in, Streamline has a specific checklist built for you to keep your district on track, and while the individual items will vary from checklist to checklist, the approach and steps to completing these items is general enough to outline in this tutorial.
Every checklist item you complete will require you to indicate either a single page or multiple pages on your Streamline site which satisfy the requirement. In some cases, we will have templated language available that you can use to make this process very simple!
Navigating to the Transparency tab
To navigate to your Transparency dashboard and view your checklist, click on the Compliance tab via the red Admin panel:

You'll then be viewing the Transparency tab and the associated checklist.
Reviewing your checklist
Take a moment to click on each section and expand it. Read through each item, and take care to note whether the checklist item requires a single page or multiple pages to satisfy; you'll know it requires multiple pages if it asks you to indicate "Where does this content live?" (more on that below!)
Also, take note of:
- any items you have immediately available and are ready to turn in
- any items you have questions about or will need to coordinate with other parties to obtain
- any items you definitely don't have, or don't want to upload to your site
Questions about what to upload for specific items in specific states is outside the scope of this guide: please email support and we'll set up a time to discuss this with you!
Completing a checklist item with a single page
Most of the checklist items you encounter will have a simple format. On the left-hand side, the requirement will be outlined. On the right, you will see an area to add a new page that meets this checklist requirement like so:

Clicking the +Add New button will bring up your Page library. You can either choose a page you have already created that would fulfill this requirement; or, you can create that new page "on the fly" which will meet this requirement.
Once you have chosen or created the page, we'll add it to your checklist and the red exclamation mark will give way to a nice green checkmark!

Completing a checklist item with multiple pages
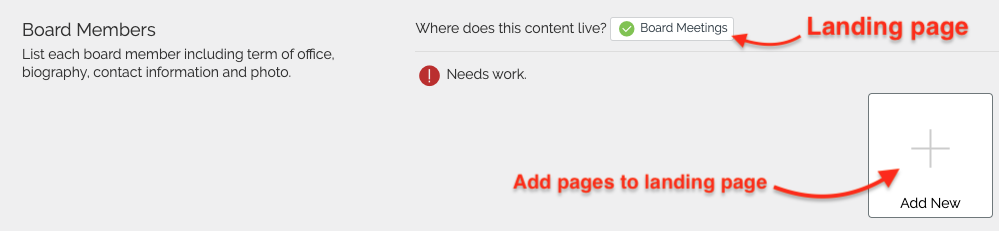
Some of the checklist items you see will require multiple pages to satisfy. These will vary, but a typical example would include a requirement to list all of your board members.
Rather than identify just one page that satisfies this requirement, the checklist is designed to identify multiple pages (i.e. individual Profile pages for each board member), all of which need to be gathered onto a single page, which we call a landing page - this is what is indicated by the "Where does this content live?" question you see here:
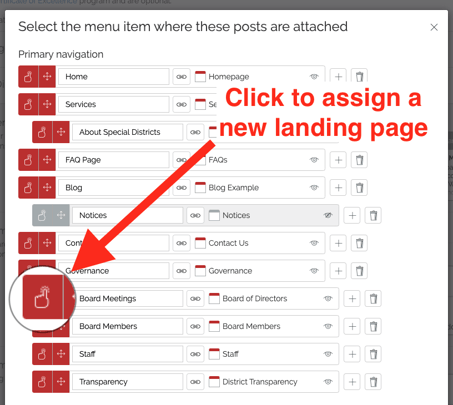
If the landing page is incorrect, you can update it by clicking on the incorrect landing page:

And then assigning a new landing page from your menu:
Once you have identified the correct landing page for a requirement, the checklist will count the number of pages you've added which meet the requirement. From this screen you can add pages directly to your landing page, one by one, by clicking the +Add New button.
The pages you're adding to your landing page are added as teasers automatically! Learn more about creating landing pages in this video >
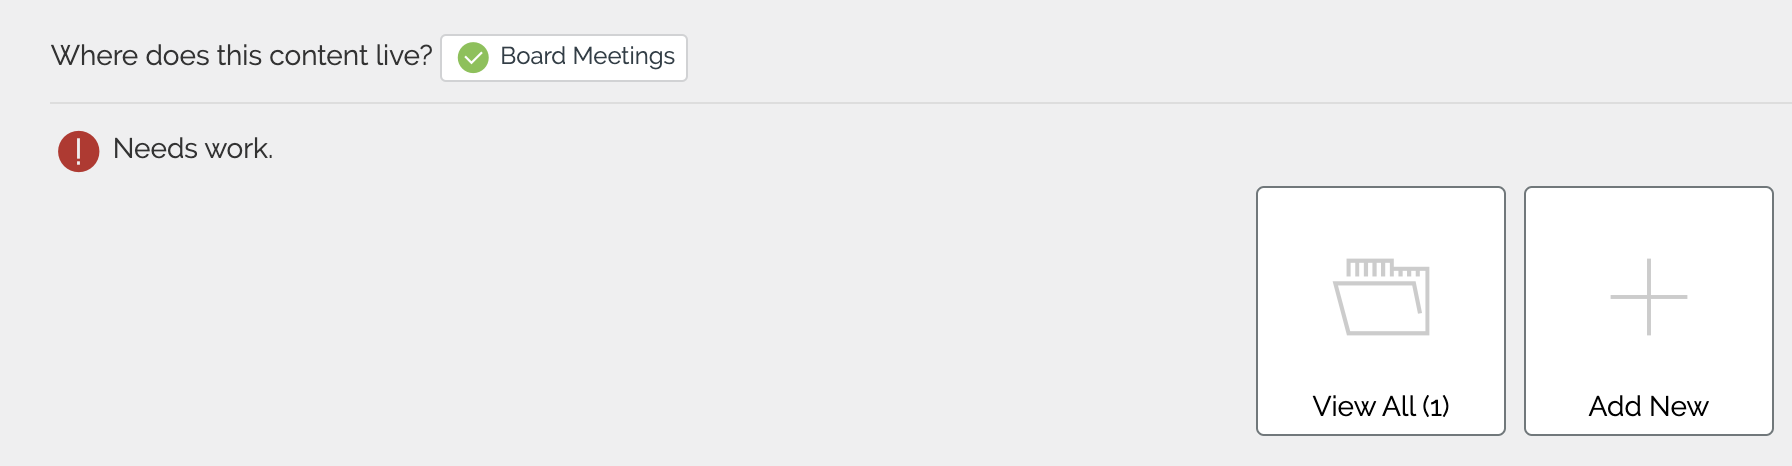
After you add your first page to your landing page, for example, it should look like this:
As you add additional pages, you'll see the count go up, and may see the message update to encourage you to finish:

Once you've met the minimum number of items to add, you should see the yellow circle turn into a nice green checkmark:
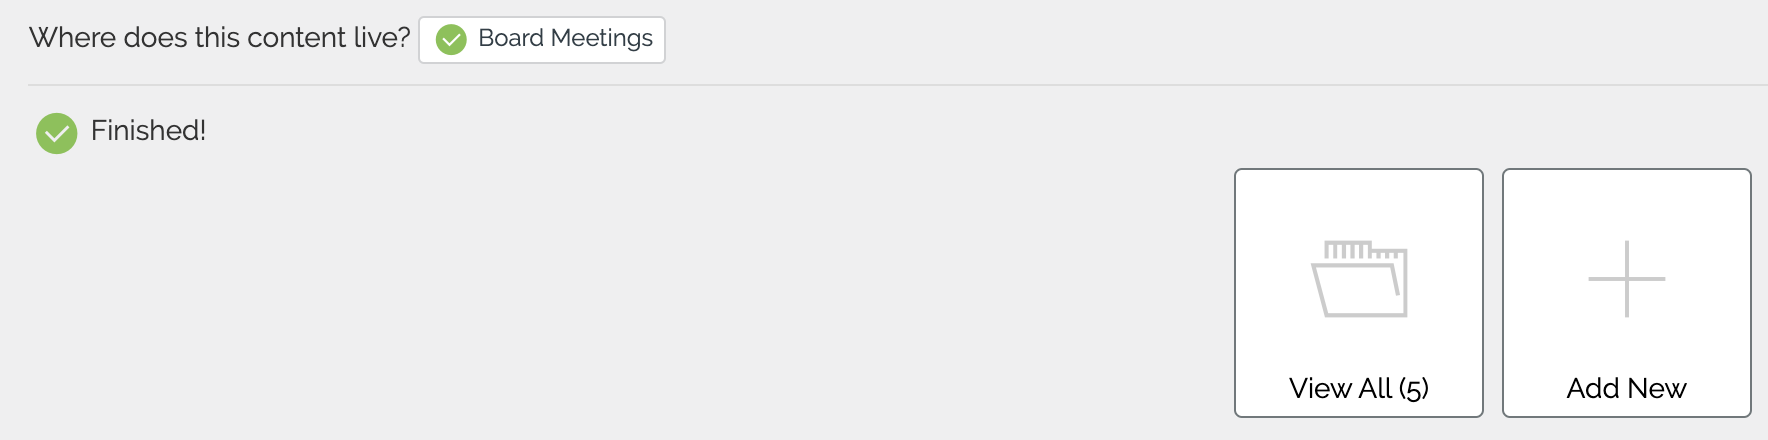
Once you see the above, you can continue adding pages as needed, but you have successfully completed this requirement!
Not seeing the green checkmark when you think you should? Make sure:
- You have at least 5 of the relevant pages added to the landing page
- At least 3 of the pages have something in the Main Body Content section (such as text, an image, or some other content)
If you still have trouble, let us know!
Using templates
In some instances, you may see checklist items with an option to create a page from a Streamline-supplied template. These checklist items will look similar to the following:

By clicking "+From Template" you're essentially going to create a new page on your Streamline site that will feature templated language; this language is specific to your district, your state, the requirement, or all of the above, and is almost always safe and easier for you to use than generating your own response.
By saving this page, you'll add it to your library and satisfy the checklist requirement in one fell swoop.
Inquiries about whether to use a template for items in specific states is outside the scope of this guide: please email support and we'll set up a time to discuss this with you!
Linking to external pages
In a few cases, the actual content which satisfies a requirement on your checklist won't live on your Streamline site. The most common example for this will be the California-only SB 272 requirement to post an Enterprise System Catalog to your website; this commonly will be hosted on an external site, such as the one offered for free by Streamline.
In the above example, CA districts need to create a catalog that will have its own website URL (or link) totally apart from Streamline. In that case, this key requirement on the checklist will need to point to this outside website in order to be satisfied.
To work around this, you can create a special type of page called and External page. These pages have one purpose - send the visitor to another page that is defined by you when you set the page up.
For example, you come across this requirement and need to add a link to an external page to meet the requirement:

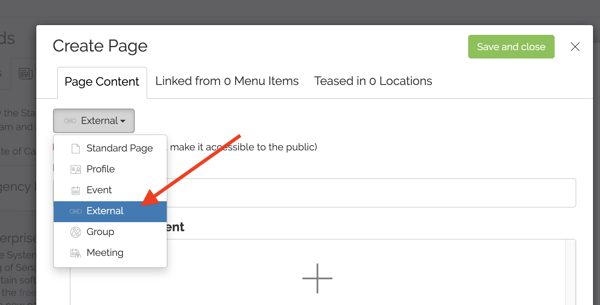
Go ahead and click "+Add New" as normal, but make sure to update the type of Page to External like so:
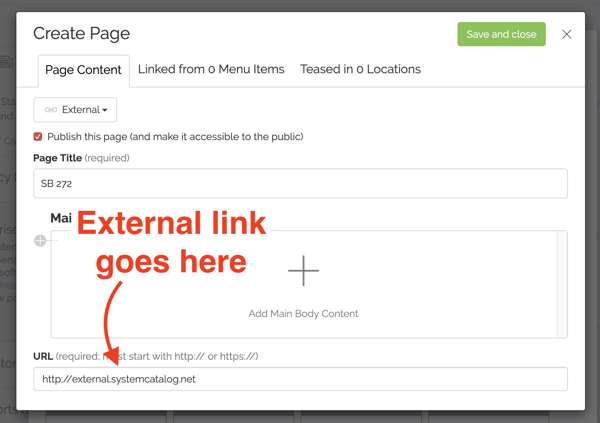
Be sure to paste the URL to your outside content here:
And voila! Once you save your External page, you will have satisfied this requirement, using a resource not hosted on your Streamline site.
Conclusion
The Transparency tab provides a comprehensive overview of your district's progress towards becoming compliant with your local laws. It's a great page to review thoroughly after first signing up with Streamline, and at least once a year as you move forward in case there are changes to your state requirements that you need to be aware of.
Completing the checklist is simply a matter of indicating specific pages on your Streamline site that meet each of the requirements. You can either point to pages you have already created, or create them on the fly from the dashboard itself.
There are some slightly more sophisticated cases -- requirements that feature multiple pages or that have templated language, for example -- but these are easily addressed using the dashboard, with a little practice.
And, if you have any questions or concerns about any specific items on your checklist, please reach out to us! We are always happy to help.